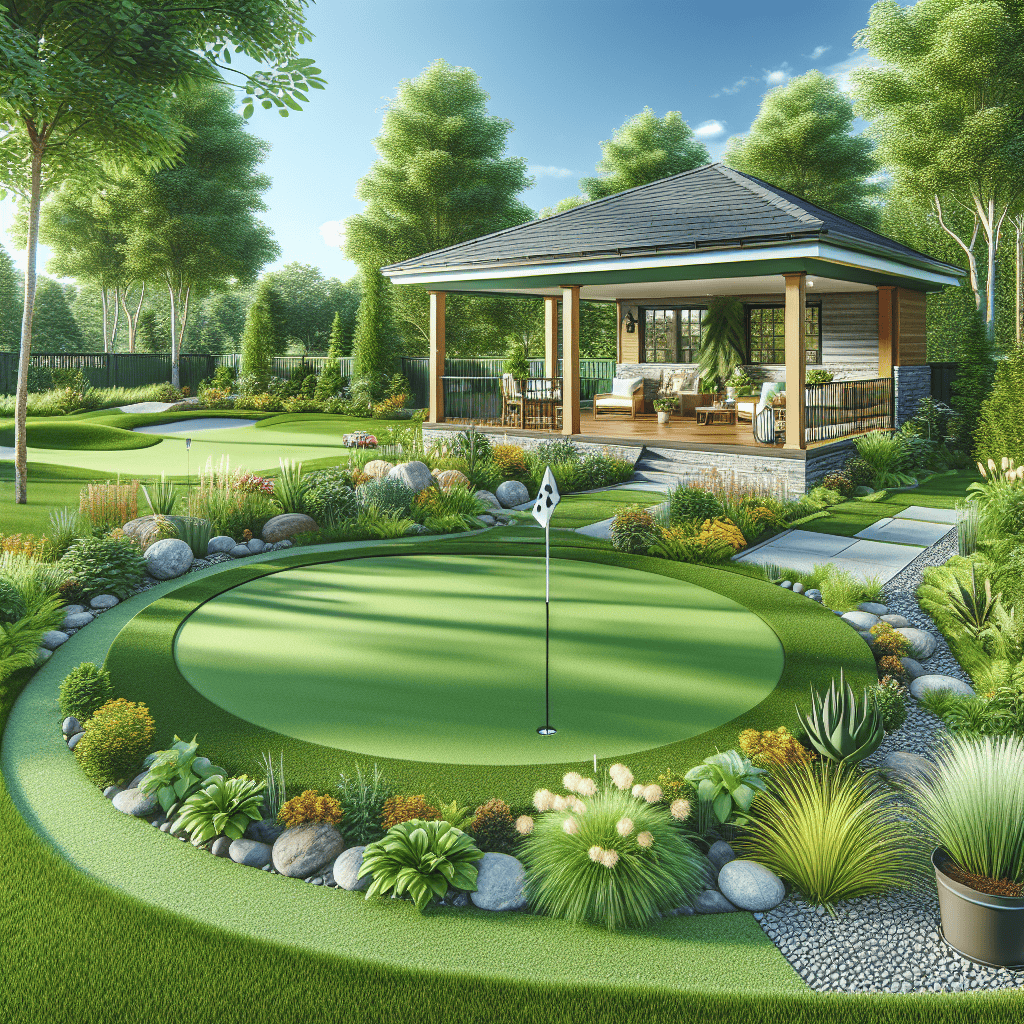
Are you looking to improve your outdoor space and turning it into a lot of fun!? Install custom putting green setups that can magically turn your backyard into a golfer’s paradise. This article will guide you through the benefits, planning, and steps to install a custom putting green in your home.
Benefits of Installing Custom Putting Green
Adding a custom putting green offers numerous benefits:
- Enhances Outdoor Aesthetics: A well-designed putting green adds a professional and beautiful look to your garden.
- Increases Property Value: A custom putting green can be an attractive feature, potentially increasing your home’s market value.
- Convenience for Golfers: No need to drive to the course; practice your game right at home.
- Low Maintenance: With high-quality artificial grass, maintenance is minimal compared to natural lawns.
Planning to Install Custom Putting Green
Before jumping into installation, proper planning is crucial. Here are the steps to follow:
Site Selection
Choose a location that is relatively flat and gets ample sunlight. Consider factors like accessibility and visual impact on your overall landscape.
Design and Layout
Decide on the size, shape, and any additional features such as bunkers or fringe areas. Consulting with a landscape architect can help you finalize a design that fits your space and style.
Materials Needed
Gather the necessary materials to ensure a smooth installation process:
- Artificial turf
- Crushed aggregates
- Weed barrier fabric
- Edging materials
- Tools for excavation and leveling
Steps to Install Custom Putting Green
Step 1: Site Preparation
Begin by marking the area and removing any existing sod or vegetation. Excavate the area to a depth of about 4 inches to accommodate the base materials.
Step 2: Base Installation
Install a weed barrier fabric to prevent weed growth. Follow this by layering crushed aggregates and compacting them to form a sturdy, well-draining base.
Step 3: Laying the Turf
Unroll the artificial turf over the prepared base. Make cuts for any curves or unique shapes, and ensure the turf lays flat without any bubbles or wrinkles.
Step 4: Securing the Turf
Secure the edges with landscape nails. Use adhesive tape for any seams to ensure the turf stays in place. Trim any excess turf along the edges.
Step 5: Adding Infill
Spread silica sand or other appropriate infill materials evenly across the turf. This adds weight and helps the blades stand upright for a more natural appearance.
Step 6: Finishing Touches
Brush the turf fibers to evenly distribute the infill. Install any additional features such as fringe grass or sand bunkers. Check the entire area for any issues and make necessary adjustments.
Maintaining Your Custom Putting Green
Once you’ve completed the installation, regular maintenance will ensure long-lasting beauty and functionality:
- Brush the turf regularly to keep the blades upright.
- Remove debris such as leaves and twigs to keep the surface clean.
- Rinse the turf with water occasionally to remove dust and dirt.
- Inspect and repair any seams or edges that may become loose over time.
Conclusion
Choosing to install custom putting green setups can significantly enhance your property, offering both visual appeal and practical benefits. With careful planning, material selection, and thorough installation, your new putting green will provide years of enjoyment. Whether for private leisure or improving your golf skills, a custom putting green is a fantastic addition to any backyard.

Leave a Reply