Most homeowners only see the day concrete gets poured, but the quality of a driveway is decided long before that. The strongest installations come from a process that starts with planning and base preparation, not from a rush to get gray concrete on the ground.
Understanding the sequence helps homeowners compare bids and spot shortcuts. If a contractor skips over prep, drainage, or curing, that is usually more important than how polished the sales pitch sounds.
1. Layout and planning
The project begins with measurements, slope evaluation, access planning, and decisions about width, thickness, finish, and drainage. This is when contractors should identify any property-specific issues such as poor runoff, grade changes, root interference, or awkward garage transitions.

2. Demolition or excavation
If an old driveway exists, it is removed and hauled away. For new work, the area is excavated to the required depth. The goal is to create room for both the base layer and the concrete slab, not just scrape the surface and pour on unstable ground.
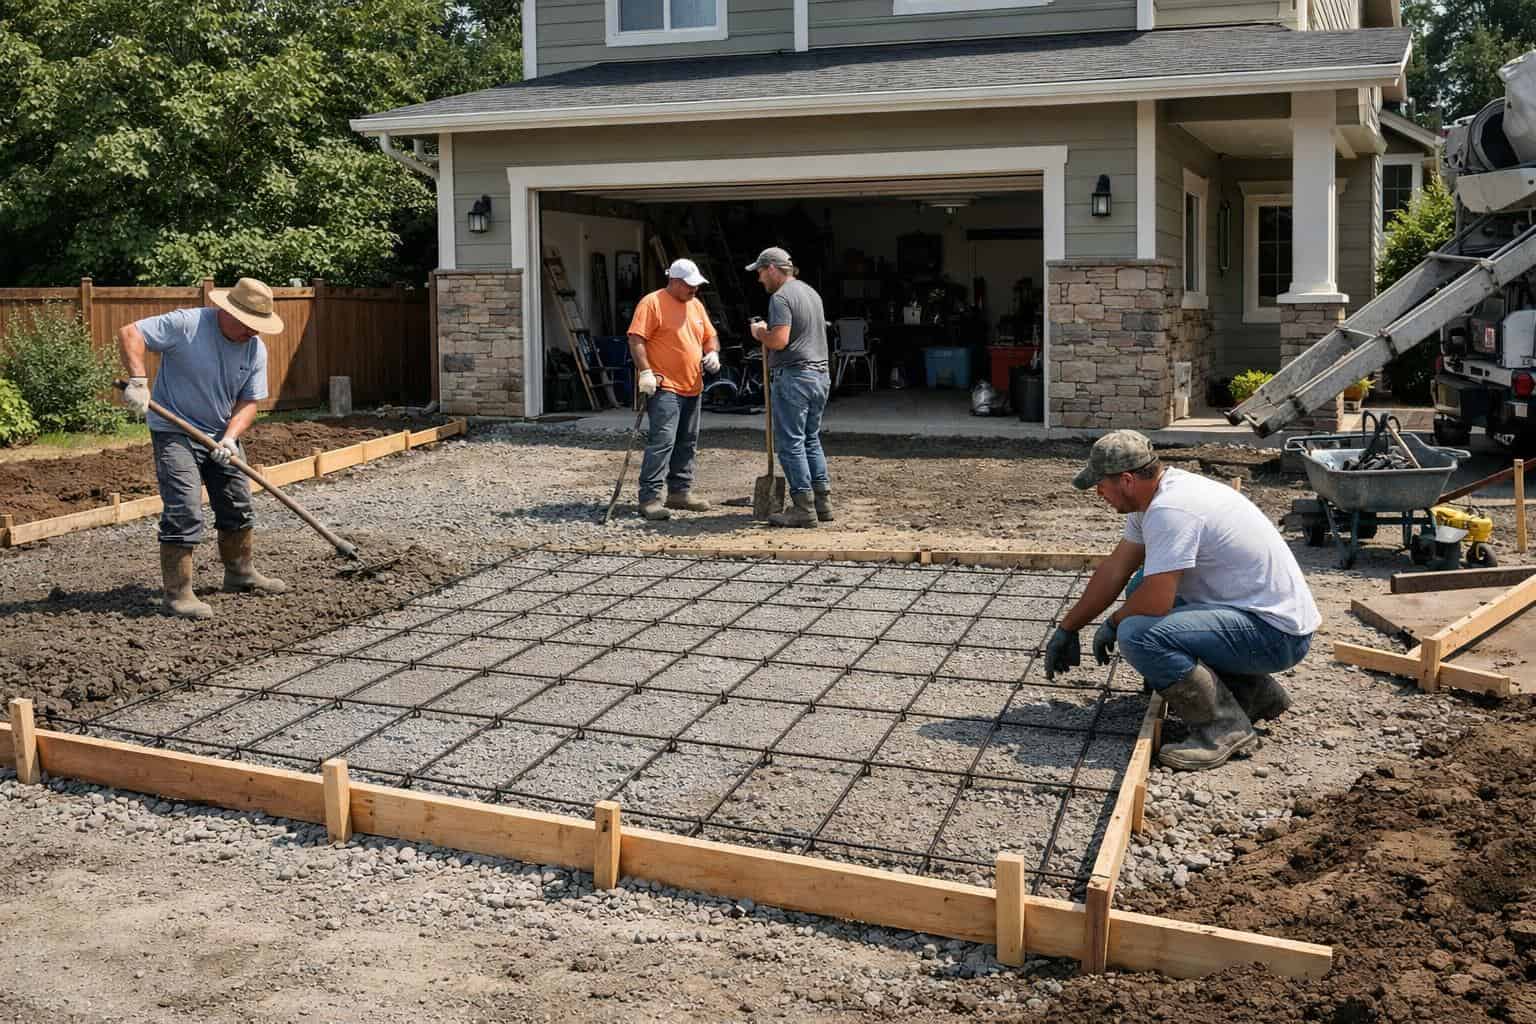
3. Base preparation
This is one of the most important stages in the whole project. The base is shaped, leveled, and compacted so the concrete has consistent support. If the driveway will fail early, the cause is often here. Good prep also helps the contractor establish the right slope so water sheds away from the slab.
4. Forms and thickness control
Forms define the driveway shape and help maintain proper dimensions during the pour. Thickness decisions matter here too, especially around edges and areas that may see heavier loading. Homeowners should ask how the slab thickness was chosen for the way the driveway will actually be used.
5. Reinforcement and joint planning
Depending on the design, reinforcement may be used to help control movement and support the slab. Just as important, the contractor should plan control joints so shrinkage cracks form in predictable locations instead of wandering randomly across the surface.
6. Pouring and placing the concrete
Once the truck arrives, timing matters. The concrete must be placed, spread, and leveled efficiently so the crew can maintain consistency before finishing begins. This stage looks dramatic, but it only succeeds when the earlier prep work was handled correctly.
7. Finishing the surface
After screeding and floating, the contractor applies the chosen finish. On many residential driveways, that means a broom finish for traction. Decorative projects may involve other finishes or stamped patterns. The finish should match both the homeowner’s design priorities and the driveway’s functional needs.
8. Cutting joints and protecting the slab
Control joints are cut or formed to guide where shrinkage movement occurs. The slab then needs time to cure. This part often gets underestimated by homeowners eager to use the new surface quickly, but curing is part of the installation, not an afterthought.
9. Final walkthrough and homeowner expectations
Before the job is considered complete, the contractor should explain when the driveway can be walked on, driven on, cleaned, or sealed. This is also the right time to ask what cracking is considered normal and what warning signs would justify follow-up.
What homeowners should watch for
- Does the contractor emphasize prep and drainage, or only talk about the pour day?
- Are thickness and joint placement explained clearly?
- Is curing time treated seriously?
- Are expectations for traffic and maintenance explained before the project starts?
A quality driveway is a sequence of correct steps, not a single dramatic moment. If you are still comparing bids, pair this article with our contractor selection guide and our article on crack control.

Plan the Bigger Project
Concrete work is often just one part of a broader exterior upgrade. If you are still mapping out the full project, also read our landscaping services guide, questions to ask before hiring a landscaper, what to expect during a landscaping project, and our landscaping costs guide for homeowners.
If you are still deciding on surface type before the project starts, compare the tradeoffs in our concrete vs paver driveway guide.
More Concrete Driveway Installation Process Explained Step-by-Step Guides
- What Affects Concrete Driveway Cost Guide for Homeowners
- What a Concrete Driveway Quote Should Include Guide for Homeowners
- What to Expect During a Concrete Driveway Project Guide
- Signs Your Concrete Driveway Needs Attention Guide
Leave a Reply