Irrigation projects often feel more involved than homeowners first assume because the system depends on layout, trenching, line work, controller setup, and testing rather than just a few new sprinkler heads. Even a modest upgrade can temporarily affect the yard while crews open access, work through zones, and check coverage.
Understanding that process helps homeowners judge the project more realistically and know why testing matters so much at the end.

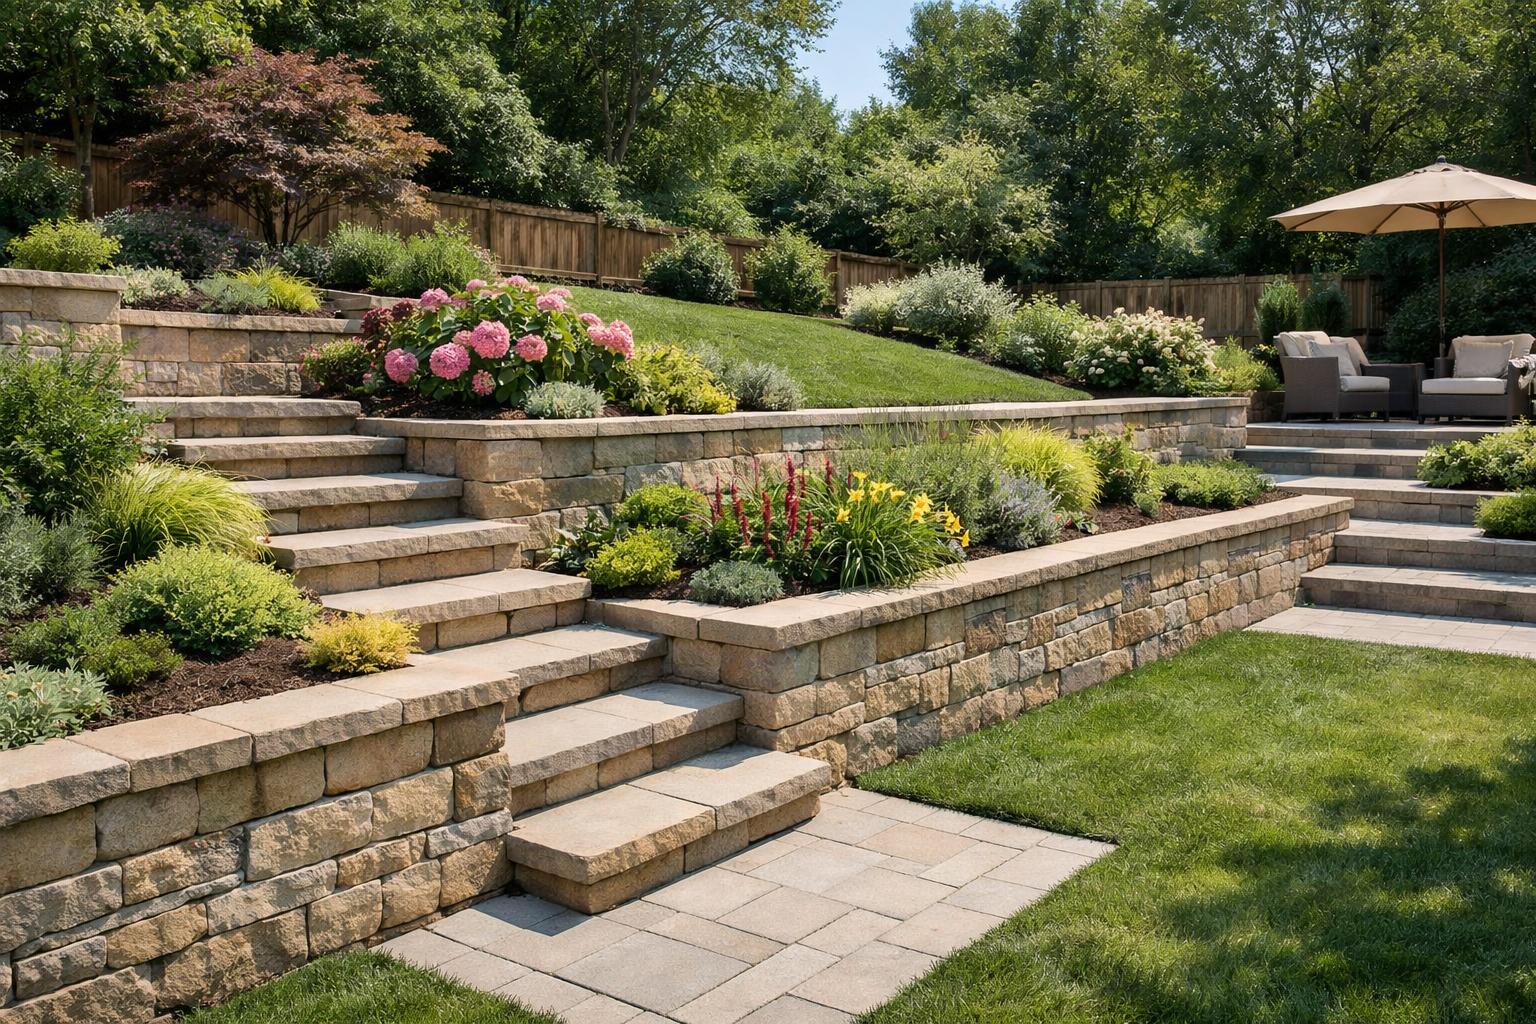
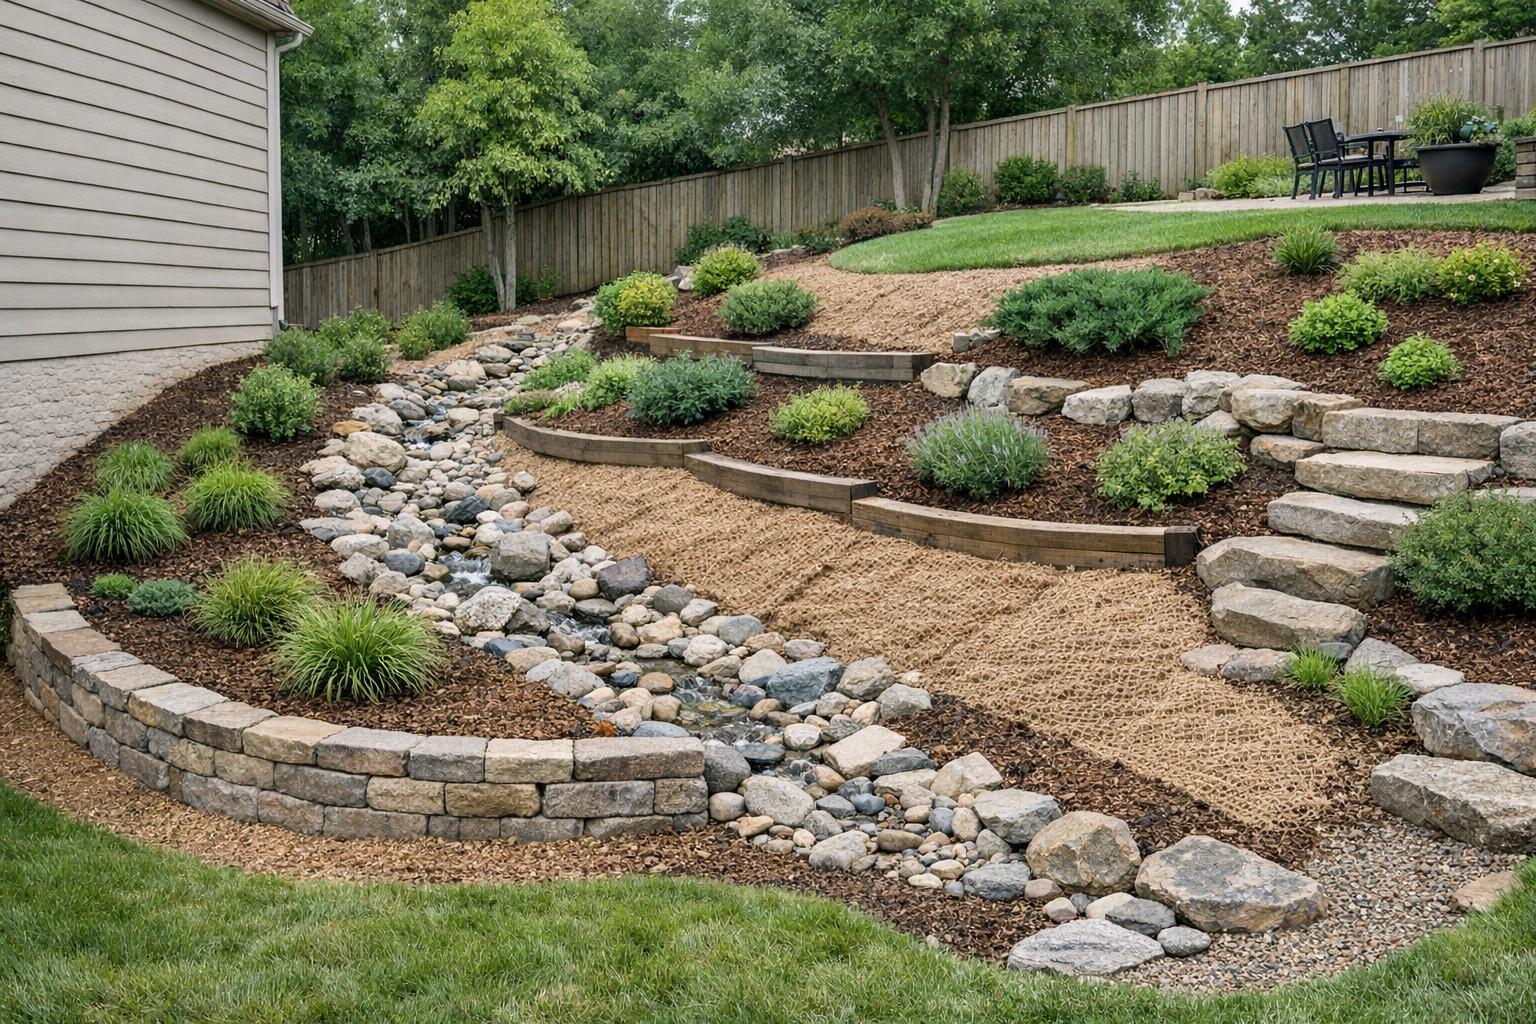
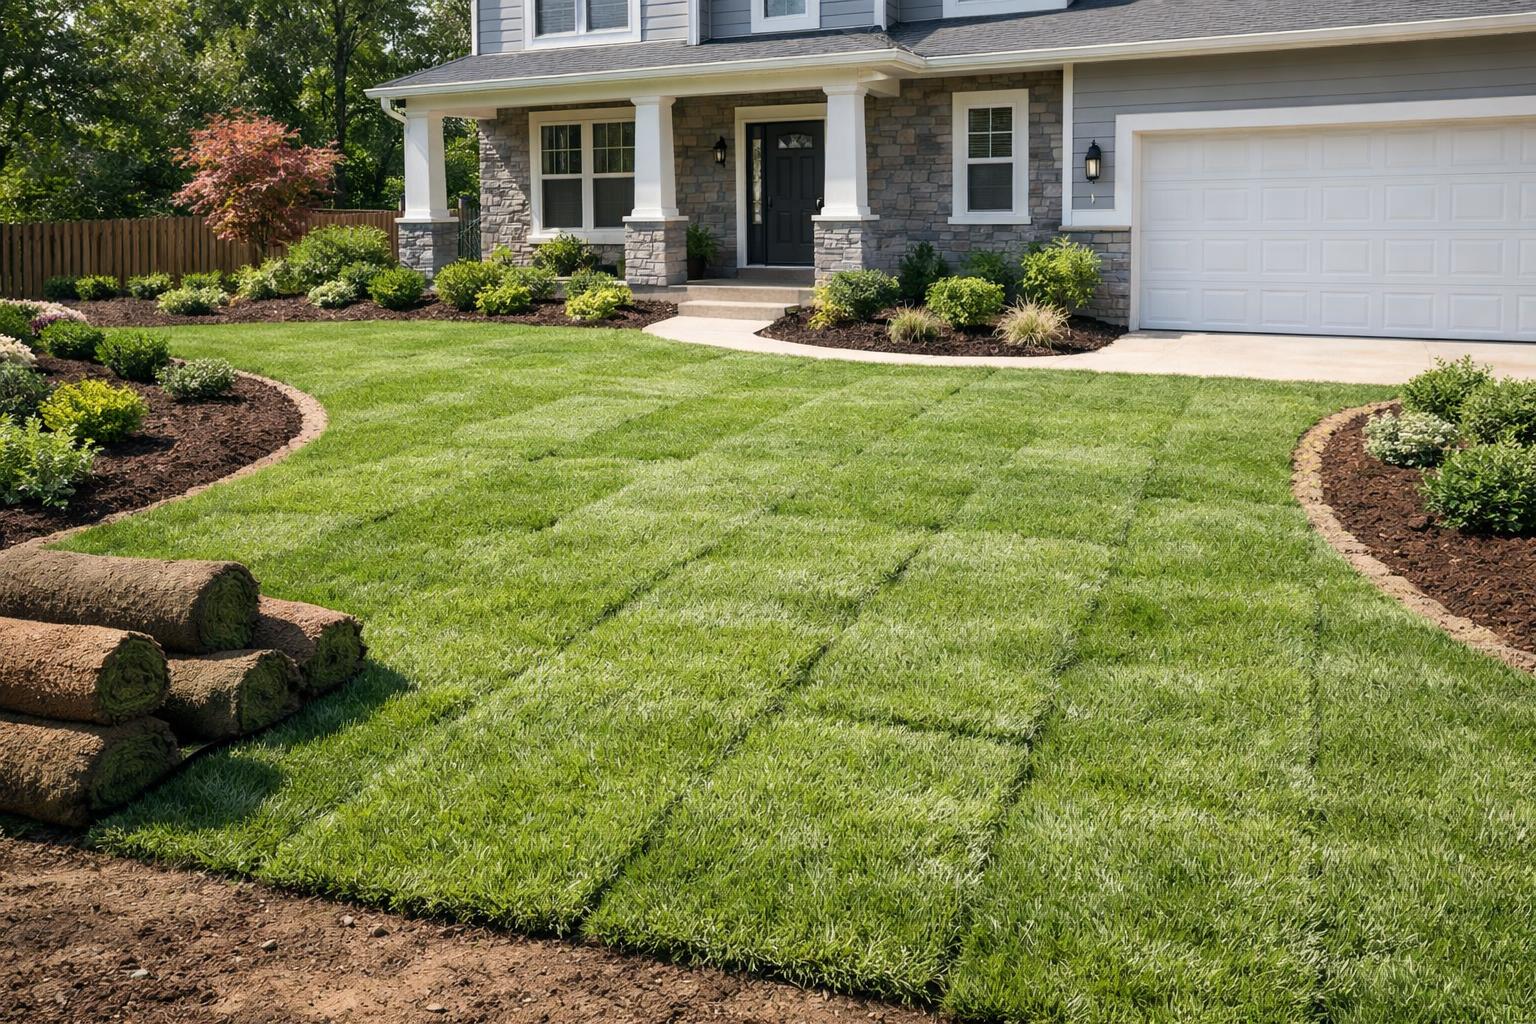
Early work usually focuses on layout and trenching
Crews may mark zones, open trenches, expose existing lines, and prepare for head, valve, or controller changes before the final system pattern is obvious. During this phase, the yard can feel more disrupted than homeowners expected.
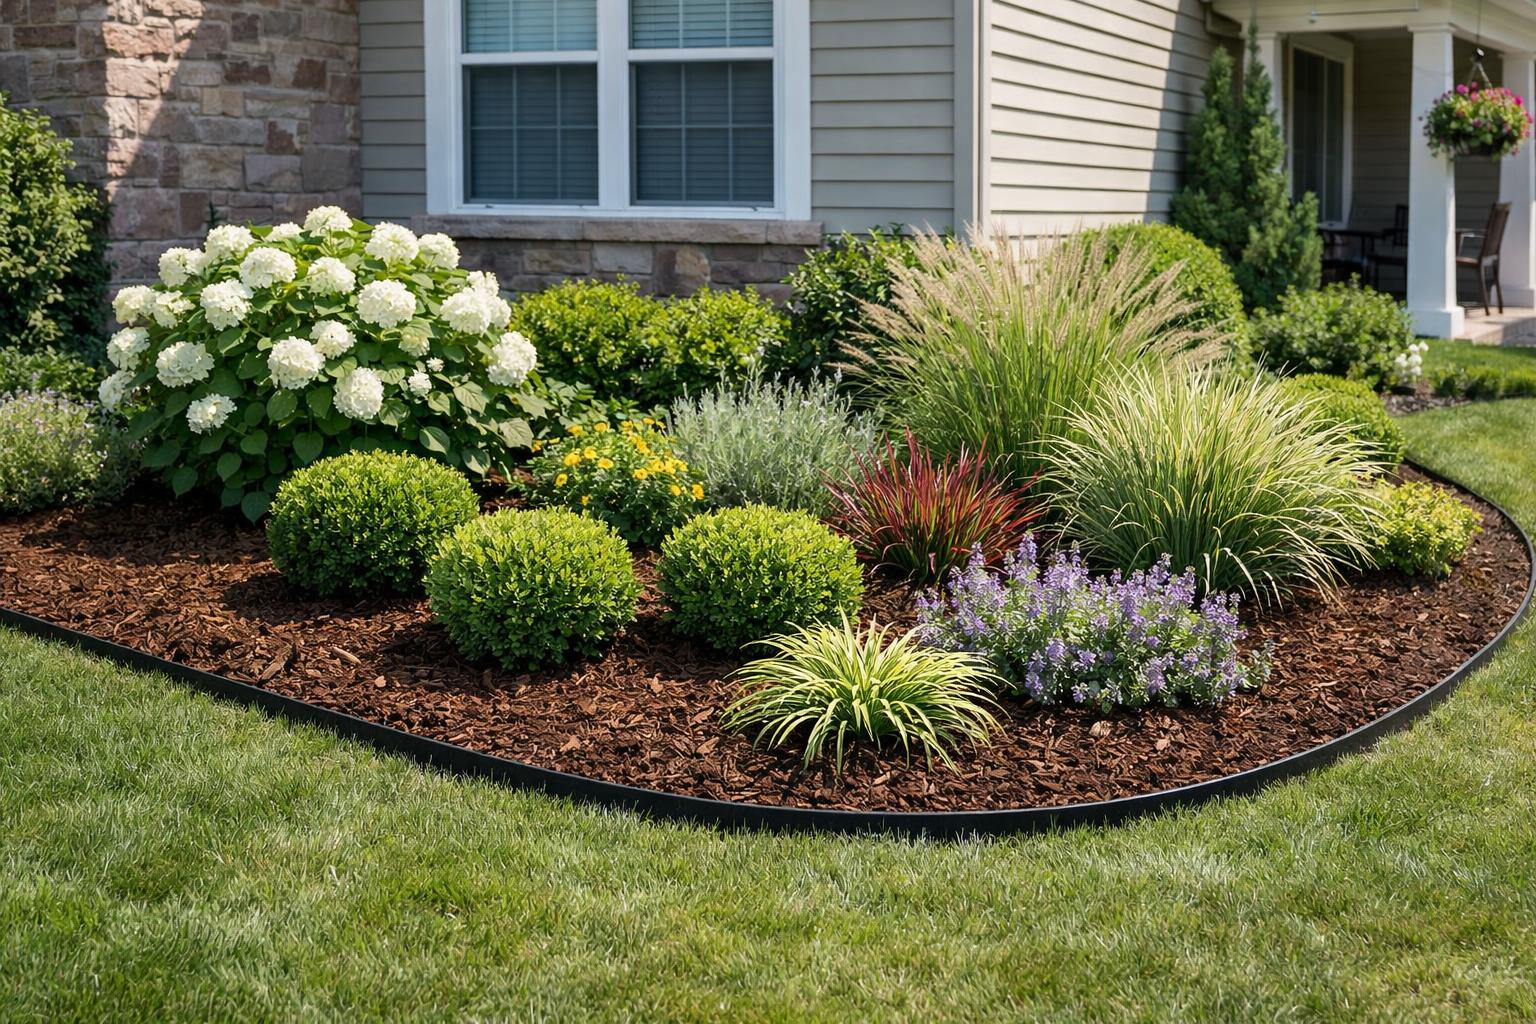
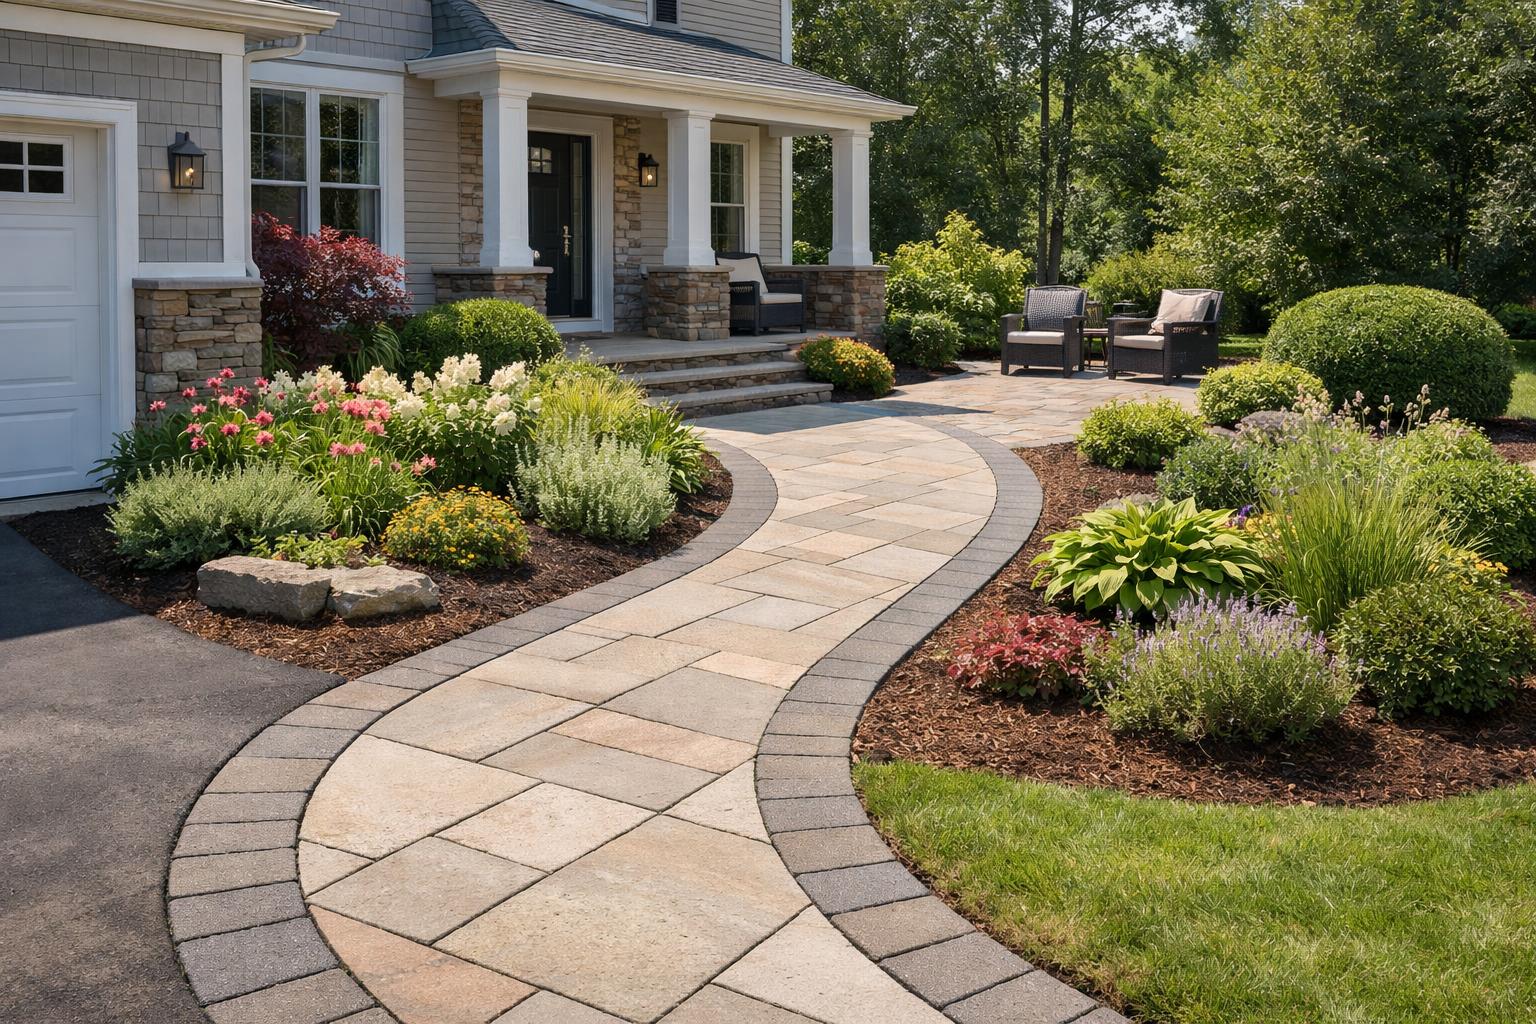
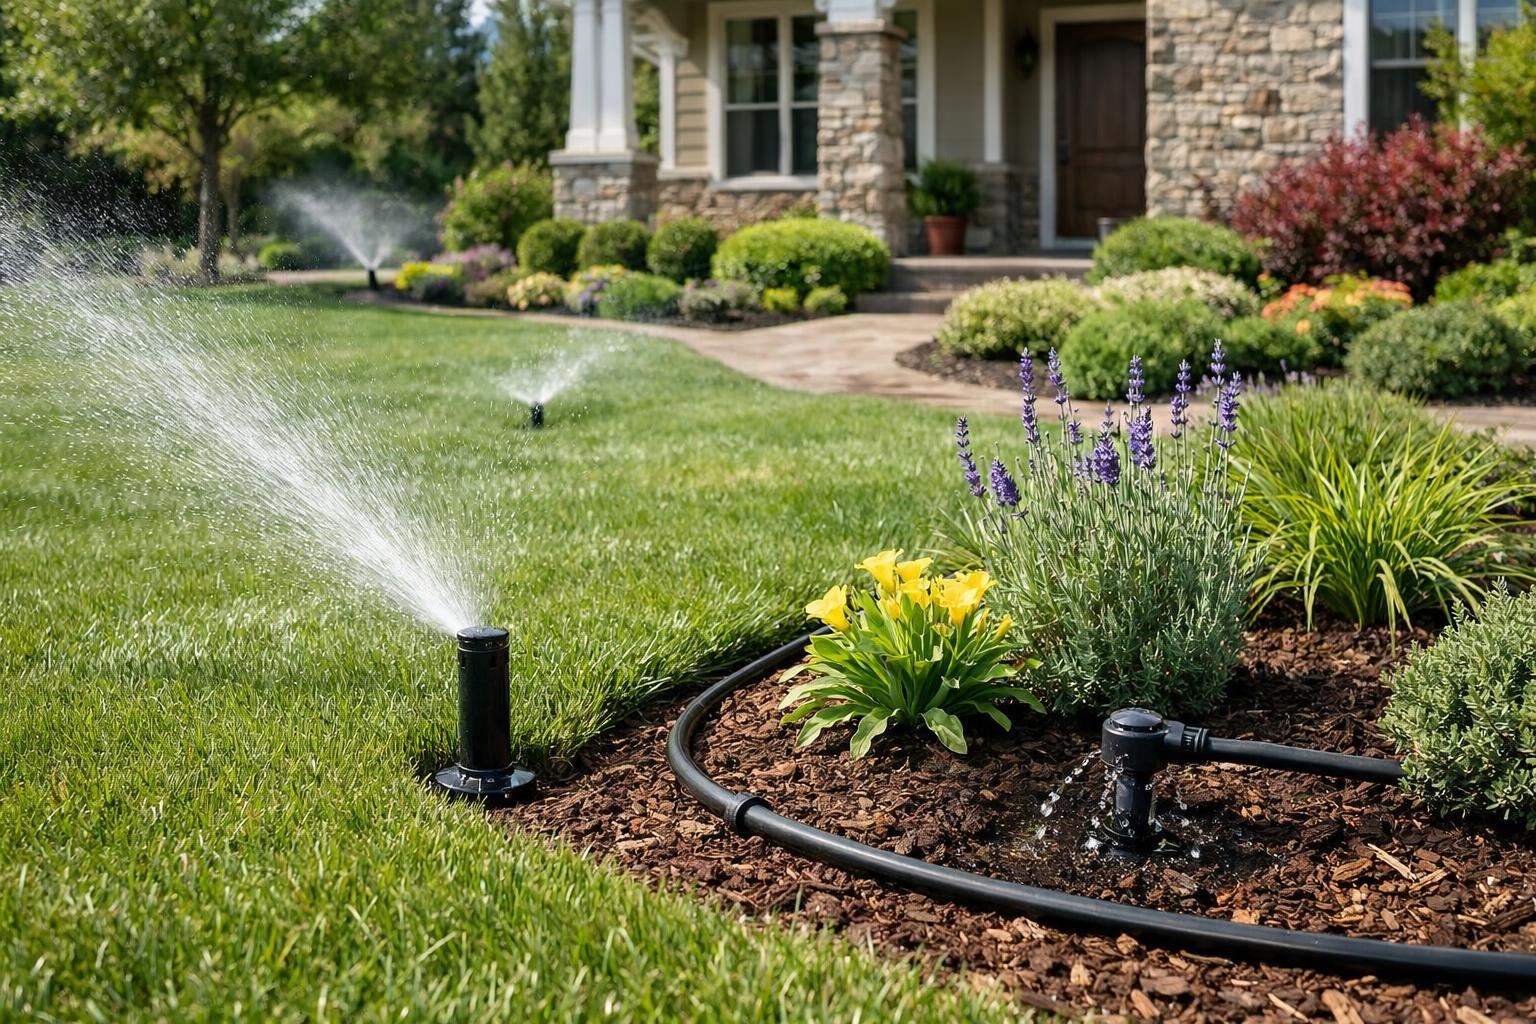
Testing and adjustment are a real part of the job
Coverage checks, controller setup, drip tuning, and final adjustments often happen after the main hardware is already in place. Those steps are what make the system feel complete and trustworthy.
Use quote and maintenance guides to judge the process
The irrigation quote guide, irrigation warning signs guide, and irrigation service guide help homeowners understand what the crew is actually doing.

Estimate the irrigation budget before installation starts
Use this calculator as a planning checkpoint before installation so the estimate conversation includes zones, controller choices, trenching, and restoration expectations.
Irrigation Cost Calculator
Estimate irrigation pricing based on area, system style, number of zones, and controller choice.
Irrigation cost estimate
- Estimated area
- –
- Low estimate
- –
- Mid estimate
- –
- High estimate
- –
- Estimated zone allowance
- –