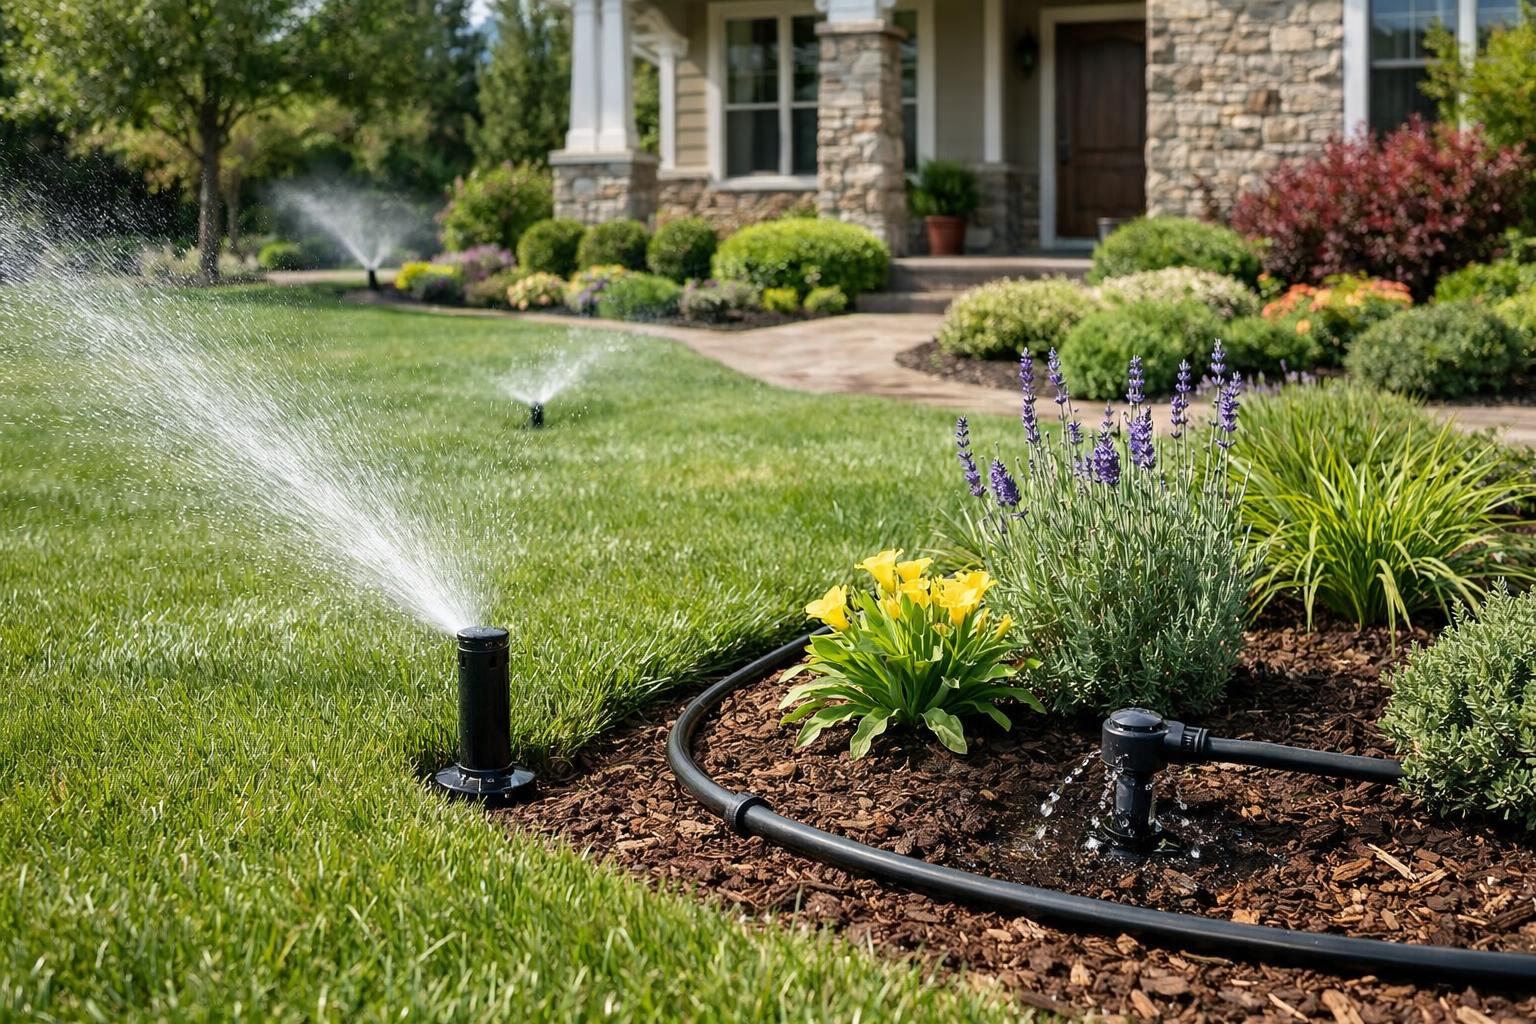
A typical residential irrigation install moves through design, utility marking, trenching or pulling pipe, connecting to the water supply and backflow device, installing heads and drip lines, wiring the controller, testing each zone, and restoring the lawn. For an average yard, the on-site work often takes one to three days, though permits, inspections, and larger properties can stretch the whole process to a few weeks from contract to final walkthrough.
Part of our Complete Irrigation Guide: sprinklers vs drip, layout, costs, winterizing and repairs in one place.
Knowing the steps ahead of time helps you prepare the yard, ask better questions, and judge whether the finished system was done right.
Before installation day
Design and zoning
A good contractor starts by measuring the yard, checking water pressure and flow at the source, and dividing the property into zones. Each zone should serve areas with similar water needs: lawn on spray or rotor heads, shrub and flower beds usually on drip. Sun and shade areas often get separate zones too. Ask to see the layout before work starts. Our guide on choosing the right irrigation layout explains what a sound plan looks like.
Permits and backflow
Many cities require a permit for new irrigation, and most require a backflow prevention device to keep irrigation water from flowing back into drinking water. Some areas require the backflow device to be tested by a certified tester after installation. Ask the contractor who pulls the permit and schedules any inspection.
Utility locate
Before any digging, the contractor should request utility marking through the 811 call-before-you-dig service. Expect colored flags or paint in your yard a few days before work. Private lines, such as power to a shed, landscape lighting, or a sprinkler line from an old system, are usually not marked by 811, so point out anything you know about.
How to prepare
- Mark buried items you know of: invisible dog fence wire, lighting cable, septic components.
- Move vehicles, planters, and furniture away from work areas.
- Make sure the crew can reach the water meter, main shutoff, and an outdoor power outlet for the controller.
- Plan for pets and kids to stay out of the yard during trenching.
Installation day: step by step

- Layout. The crew flags head locations and paints trench lines according to the design.
- Trenching or pulling pipe. A trencher digs narrow trenches, or a vibratory plow pulls pipe through the soil with less surface disruption. Lines are typically buried several inches to about a foot deep, depending on climate and local practice.
- Main line and valves. The crew taps into the water supply, installs the backflow device, and runs the main line to a valve box that controls each zone.
- Lateral lines and heads. Pipe runs from each valve to the heads. Drip tubing is laid in beds and usually covered with mulch.
- Flushing. Before heads go on, lines are flushed to clear dirt that could clog nozzles.
- Controller and wiring. Low-voltage wire connects the valves to the controller, usually mounted in a garage or on an exterior wall near an outlet. Rain or soil-moisture sensors are added if included.
- Testing and adjustment. Each zone runs while the crew adjusts arcs and radius so water lands on plants, not pavement or siding.
- Backfill and restoration. Trenches are filled, compacted, and the lawn surface repaired.
What the yard looks like afterward
Expect visible trench lines in the lawn for a few weeks. With a vibratory plow, they may be narrow slits; with a trencher, they will be filled strips that can settle slightly. Good crews top off settled trenches and remove excess soil. On new construction or a yard getting new sod, irrigation usually goes in before the lawn, so this is less of an issue.
Timeline and cost at a glance
| Phase | Typical timing | What you do |
|---|---|---|
| Estimate and design | 1 to 2 weeks | Compare layouts and scopes |
| Permit and utility locate | A few days to a few weeks | Confirm who handles permits |
| Installation | 1 to 3 days for many homes | Provide access, mark private lines |
| Testing and walkthrough | Same day as install | Watch each zone run |
| Inspection or backflow test | Varies by city | Be available if required |
| Settling and touch-ups | Following weeks | Report sunken trenches or dry spots |

Full residential systems commonly cost several thousand dollars, with the total driven by number of zones, yard size, soil and rock, water source, backflow requirements, controller type, and how much drip work is included. Regional labor and permit fees vary widely. Our guide to what affects irrigation system cost explains each factor.

The final walkthrough
Do not sign off until you have:
- Watched every zone run and confirmed coverage reaches edges and corners.
- Seen where the main shutoff, backflow device, and valve boxes are located.
- Learned to set, pause, and adjust the controller, including seasonal adjustment.
- Received a zone map showing what each zone waters.
- Asked what winterization or seasonal service the system needs in your climate.
- Confirmed warranty terms for parts and workmanship in writing.
Common problems to catch early
- Dry spots or brown rings often mean heads are spaced too far apart or a nozzle is clogged.
- Spray on the house, fence, or driveway needs head adjustment.
- Low pressure on a zone can mean too many heads on one valve.
- Soggy spots may point to a leaking fitting or valve.
- Sunken trench lines should be topped off by the contractor.
Report these during the warranty period. Small adjustments in the first few weeks are normal.
Questions to ask before you sign
- How many zones, and what does each one water?
- Which areas get drip, and which get spray or rotor heads?
- Is the backflow device, permit, and any required test included?
- Trencher or vibratory plow? How will the lawn be restored?
- What controller is included, and does it adjust for weather?
- What is the warranty, and is a first-season adjustment visit included?

Use our checklist on what an irrigation estimate should include to compare bids line by line.
Estimate the irrigation budget before installation starts
Use this calculator as a planning checkpoint before installation so the estimate conversation includes zones, controller choices, trenching, and restoration expectations.
Irrigation Cost Calculator
Estimate irrigation pricing based on area, system style, number of zones, and controller choice.
Irrigation cost estimate
- Estimated area
- –
- Low estimate
- –
- Mid estimate
- –
- High estimate
- –
- Estimated zone allowance
- –
Frequently asked questions
How long does it take to install a sprinkler system?
Many average-size yards take one to three days of on-site work. Large lots, rocky soil, permits, and inspections can extend the overall project.
Will installing irrigation ruin my lawn?
It leaves trench lines that typically recover within a few weeks with watering. A vibratory plow usually causes less disruption than open trenching.
Do I need to be home during installation?
It helps to be there at the start to confirm the layout and point out buried lines, and at the end for the walkthrough and controller training.
Can drip irrigation be added to an existing system?
Often, yes. A spray zone can sometimes be converted to drip, or a new drip zone added if the controller has an open station. See our drip irrigation vs sprinklers guide for where each works best.