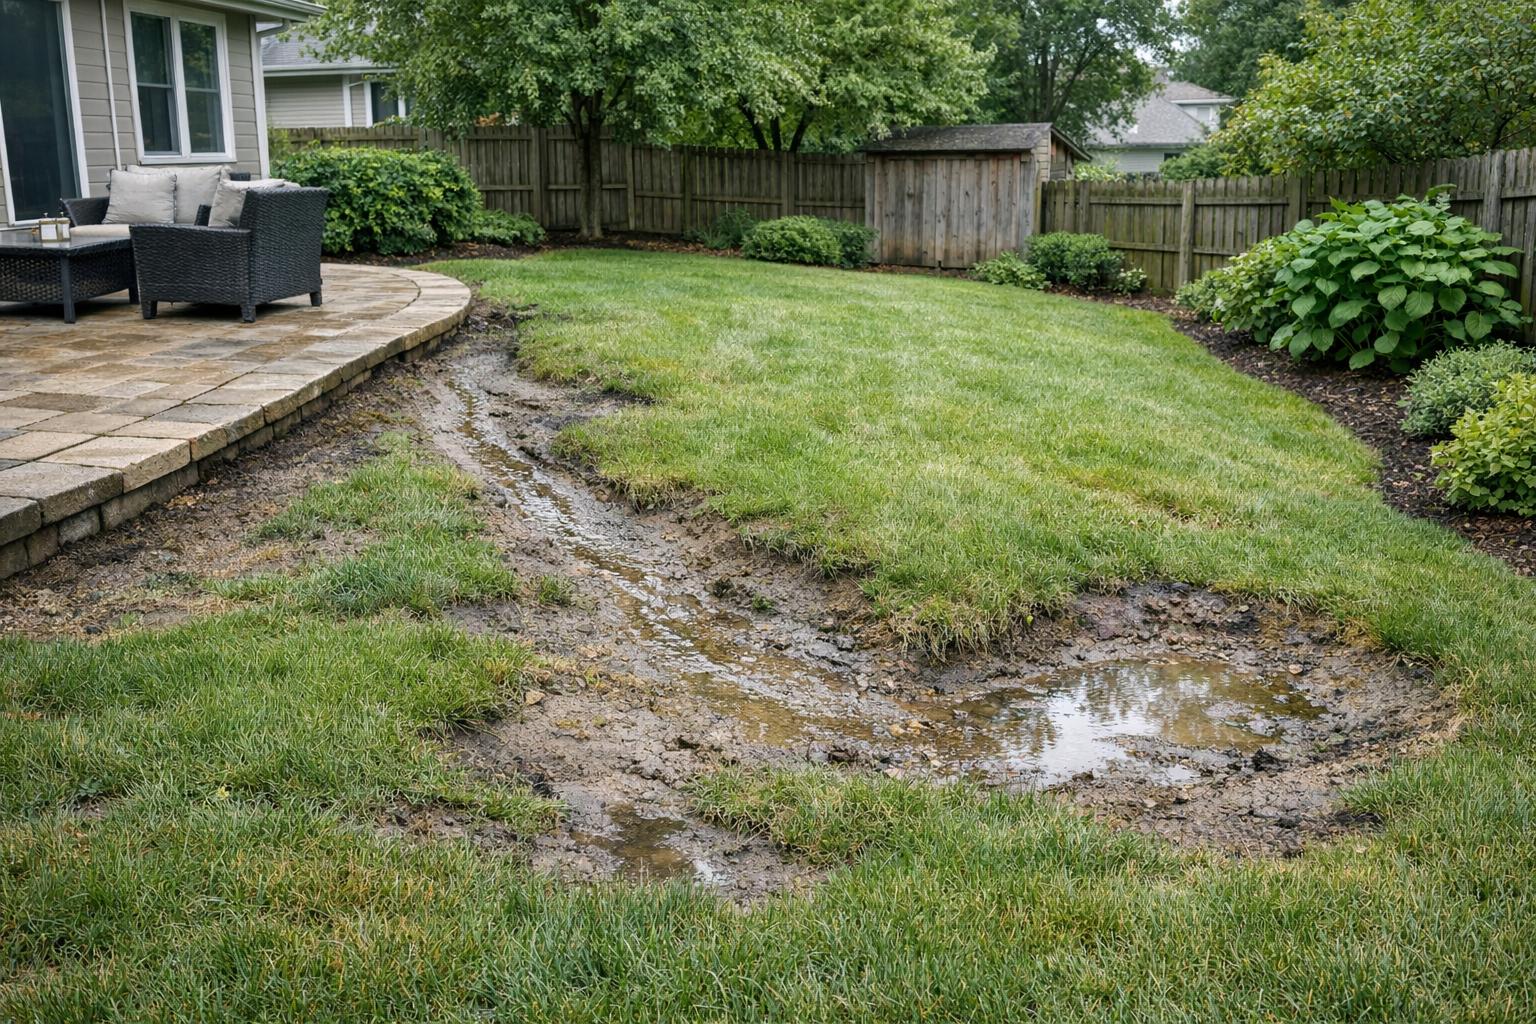
Some yards do not have a drainage problem alone. They have a grade problem that keeps creating runoff, wet spots, awkward circulation, or hard-to-use lawn areas. Homeowners often notice the symptoms first: water moving the wrong way, uneven surfaces, persistent low spots, or a backyard that never feels comfortable to use. Those clues can point to regrading rather than a smaller patch-style fix.
The challenge is that grade issues often show up slowly. They may be mistaken for irrigation trouble, poor lawn health, or general messiness when the real issue is how the land is shaped.
Common signs the yard may need regrading
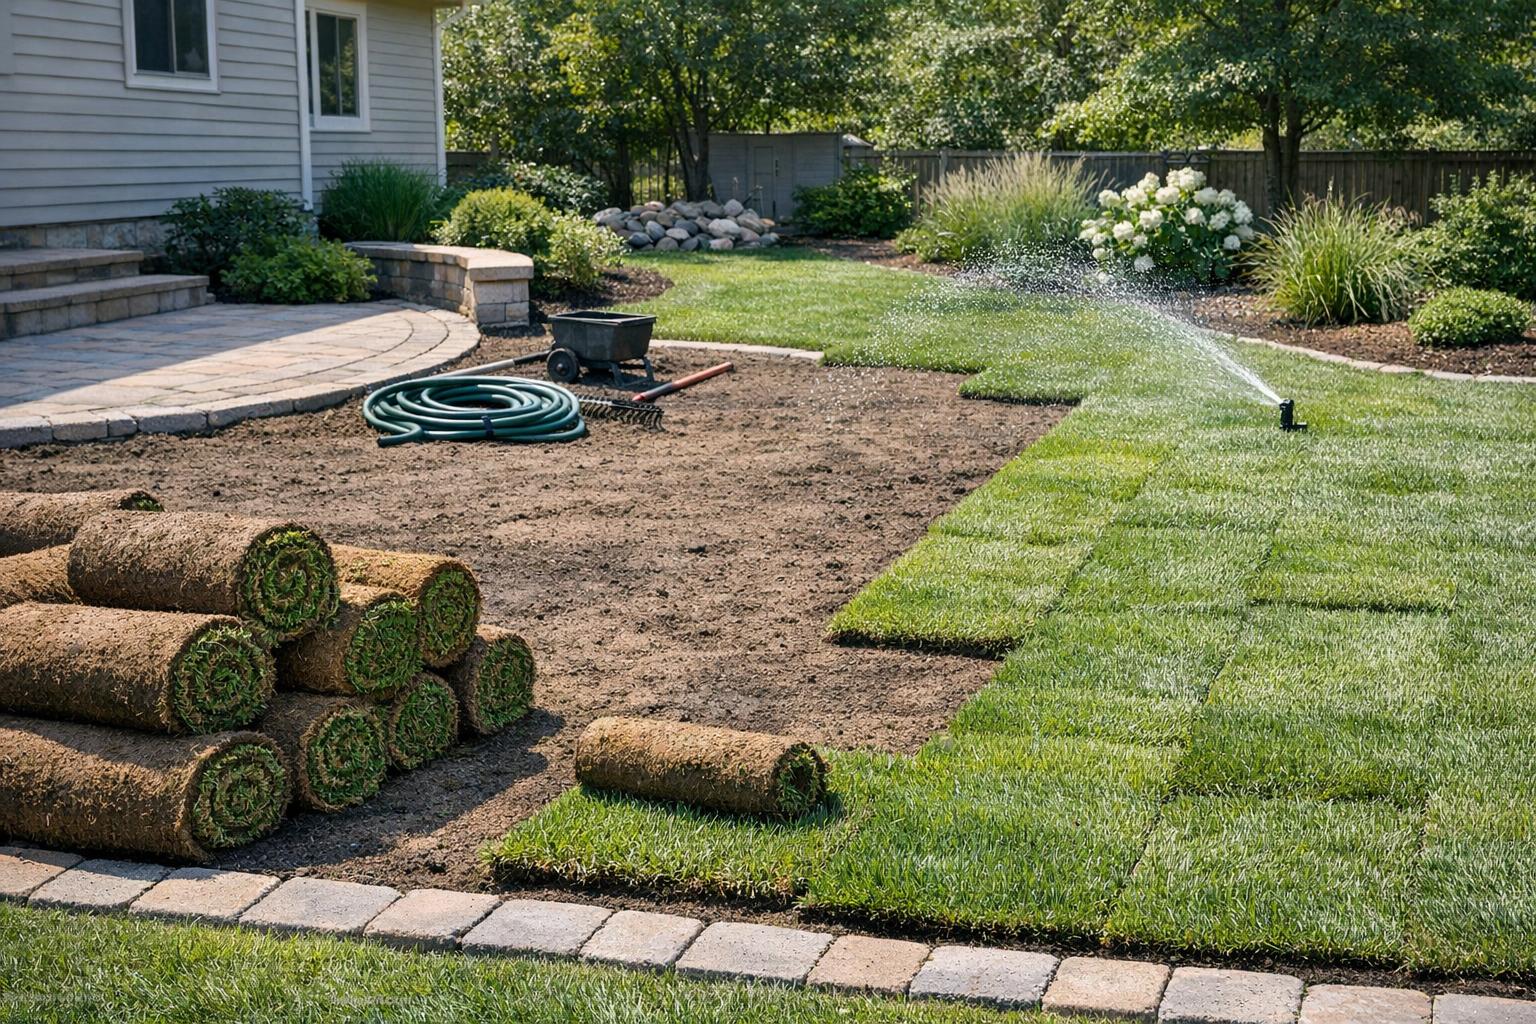
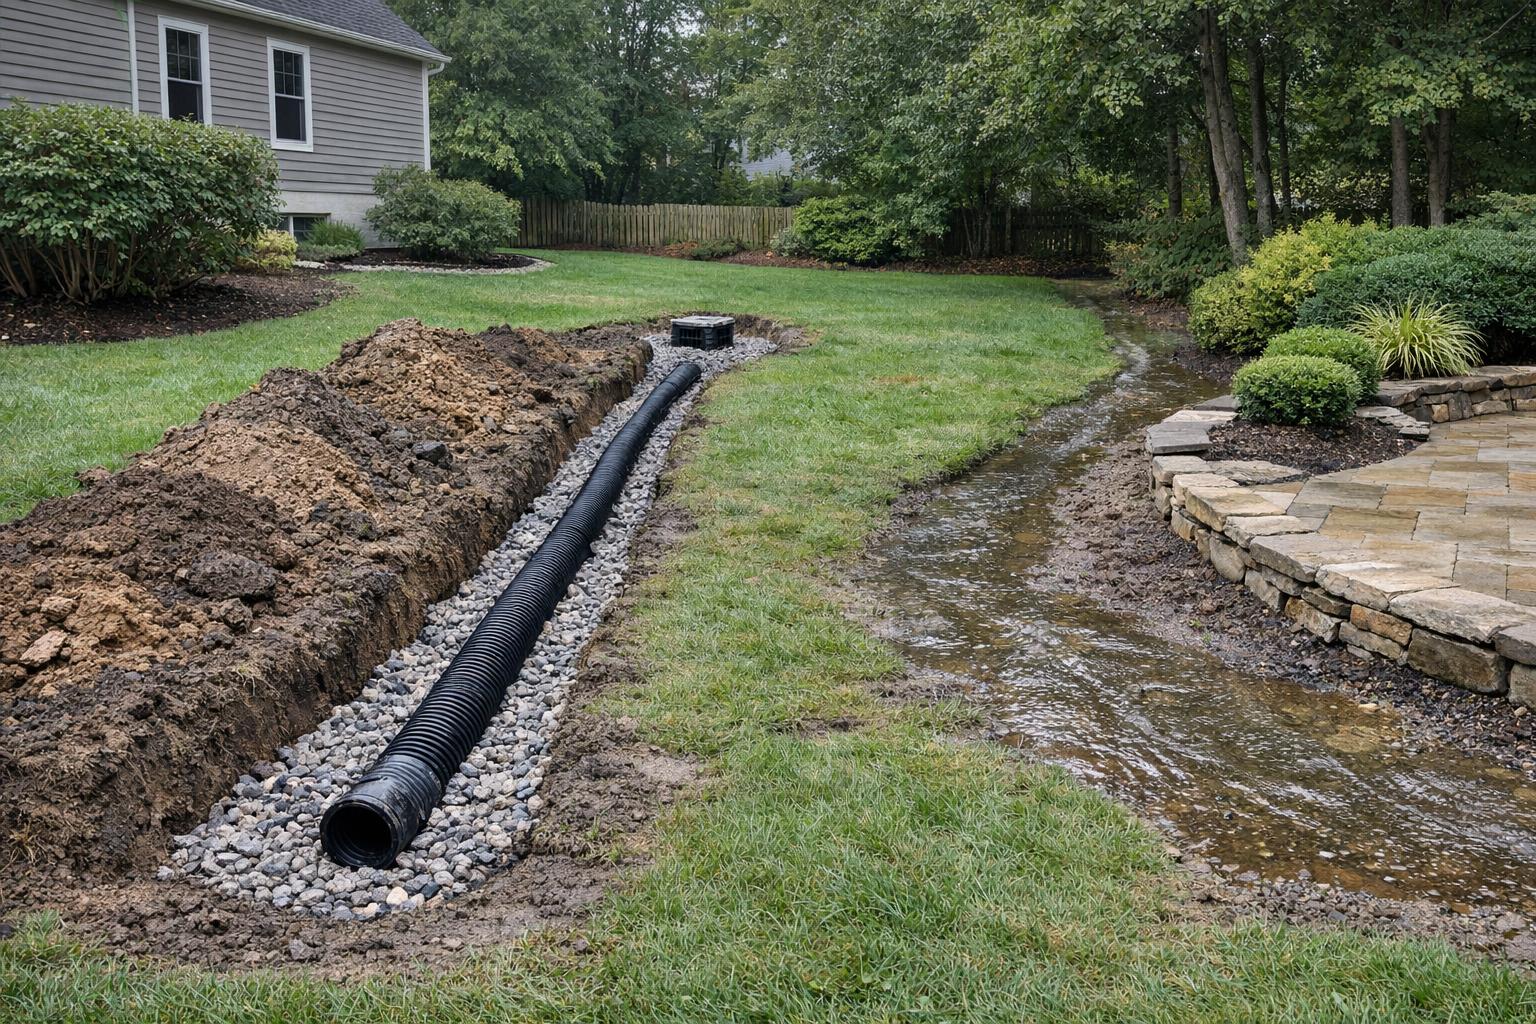
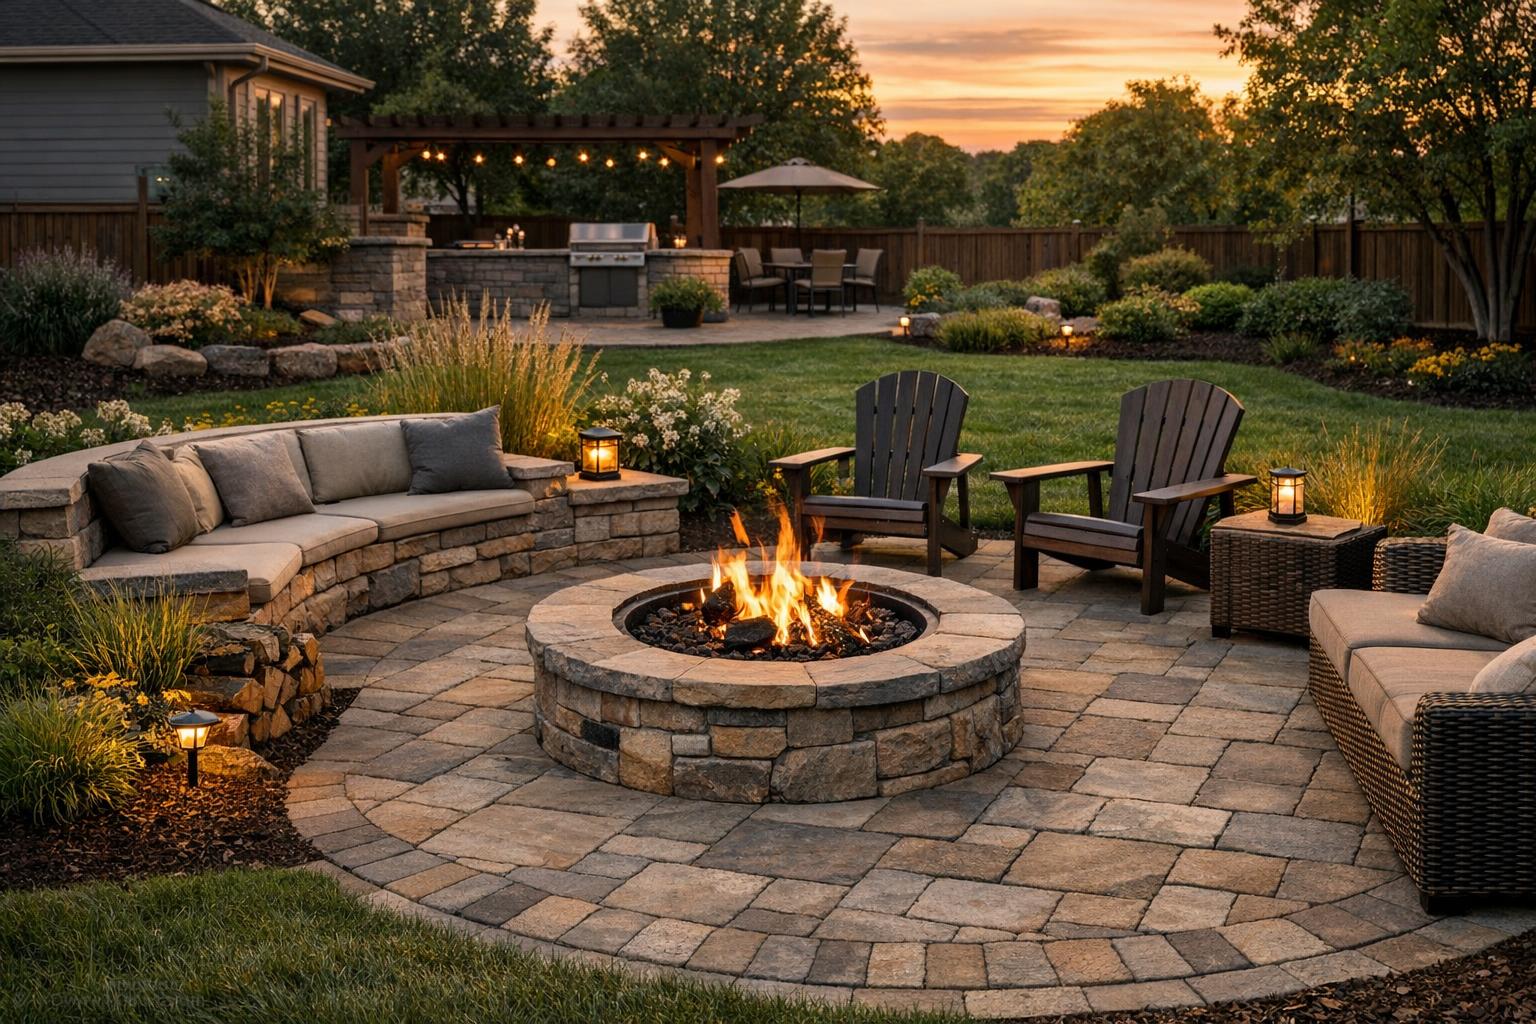
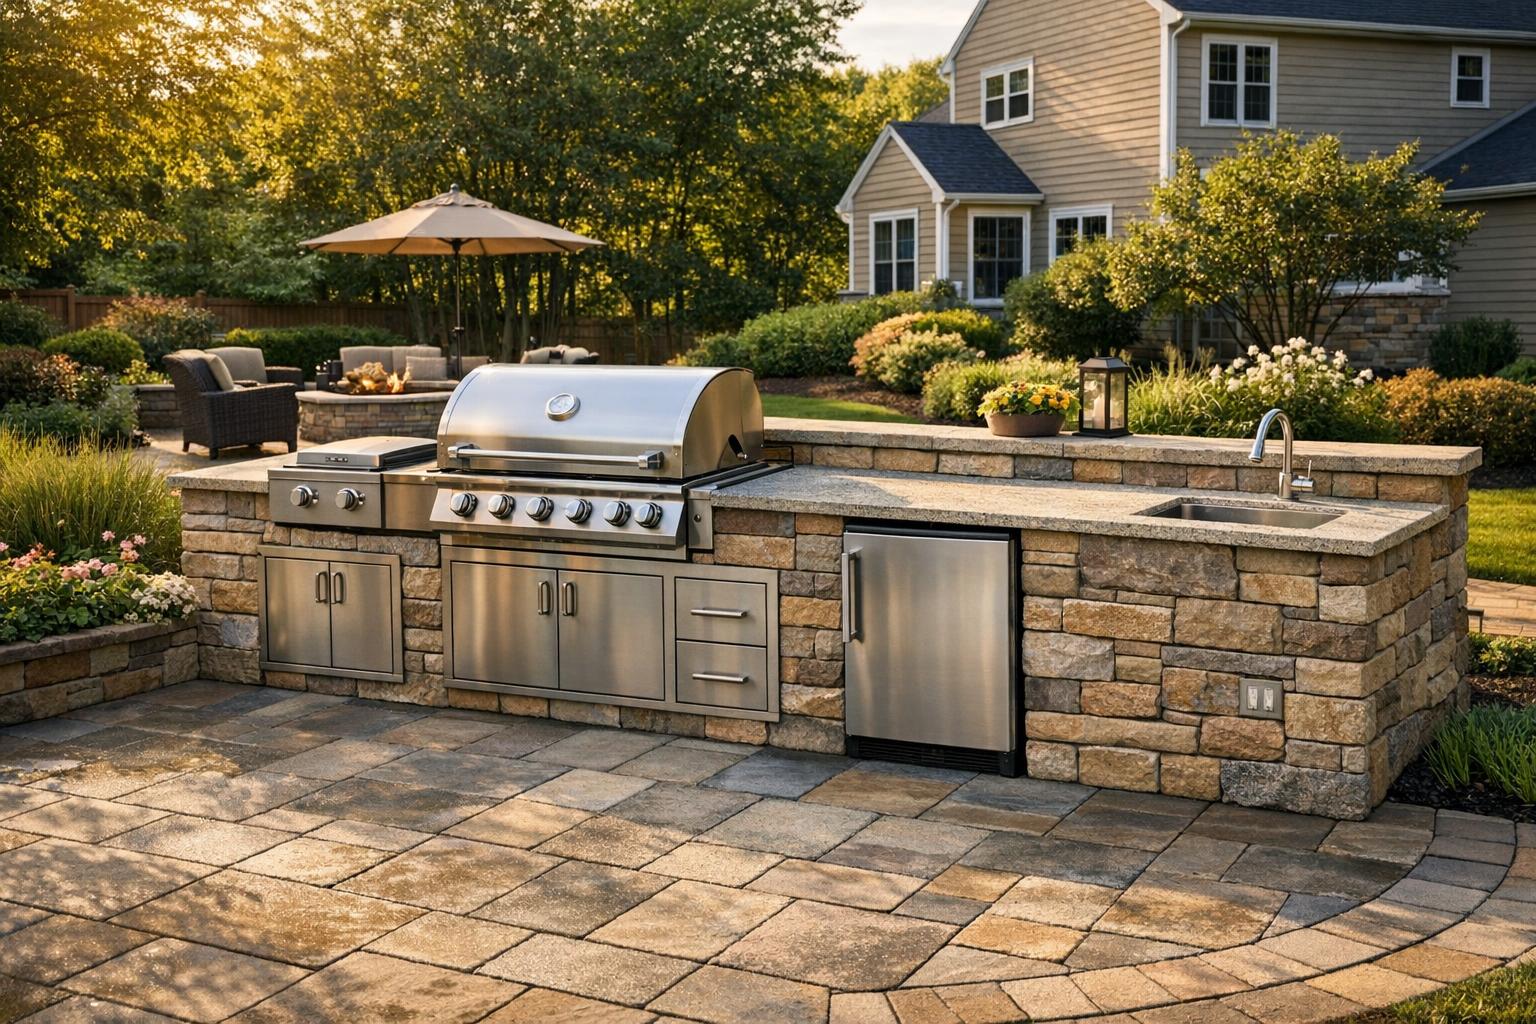
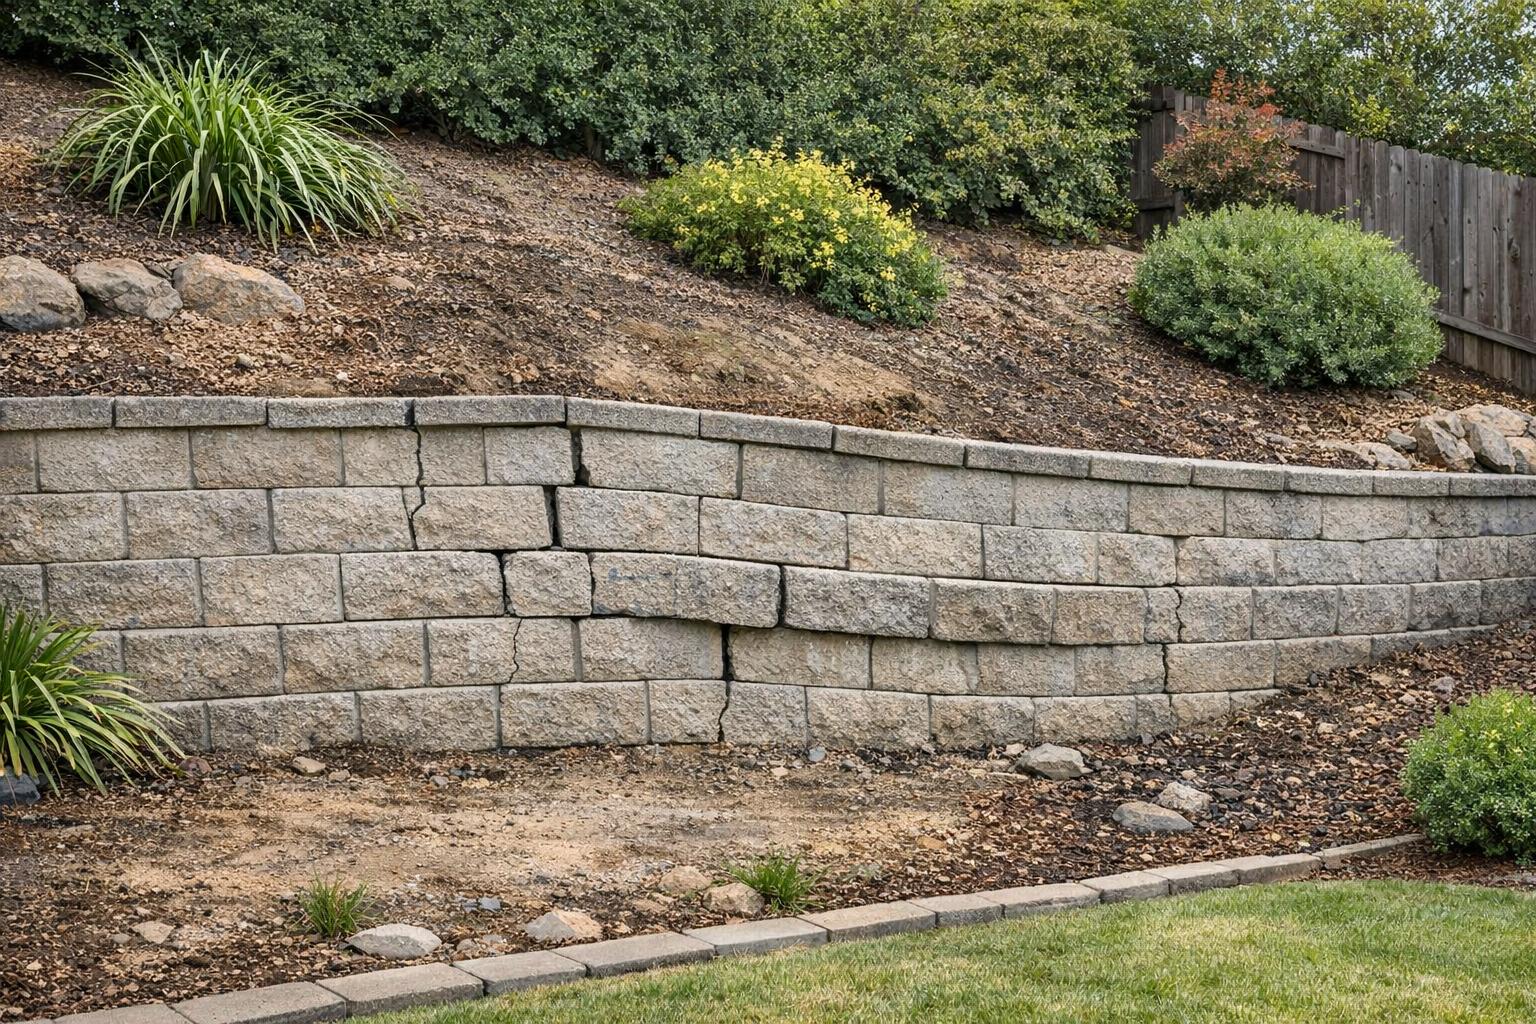
Standing water, repeated low spots, runoff heading toward the patio or structure, lawn sections that stay soft or uneven, and soil that keeps shifting are all common warning signs. In some yards, the issue is not just water but usability. If the slope makes lawn space awkward, limits furniture layout, or creates a noticeable step where the yard should feel more natural, the grading itself may need attention.

Why regrading is different from a surface-level fix
Surface treatments can help, but they do not always solve the underlying shape of the yard. If the land is directing water poorly or creating awkward grade transitions, new mulch, fresh sod, or small drainage components may only reduce the symptom temporarily. The grading and yard leveling guide and drainage vs regrading guide help clarify when the grade itself should become part of the solution.

What homeowners should look at next
Homeowners should pay attention to where water is moving, how long wet areas last, whether surfaces feel uneven underfoot, and whether the yard layout is being limited by the slope. If those issues are repeating, regrading may deserve a closer look before additional cosmetic work is layered on top.