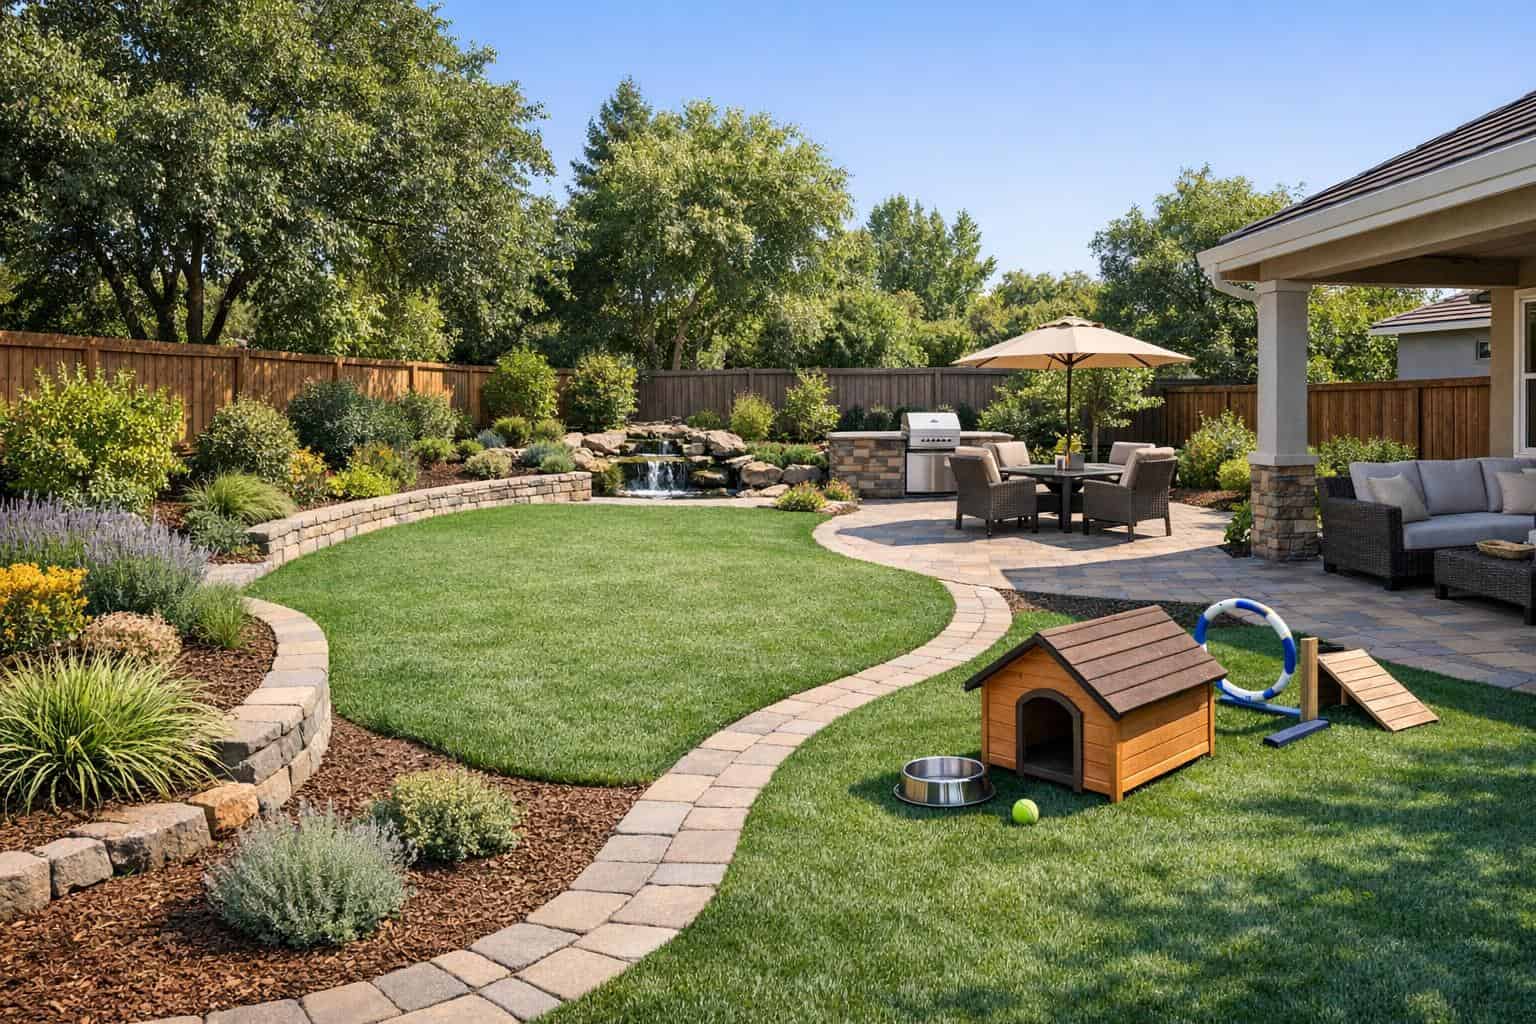
A pet-friendly backyard should feel good for people too. The best designs balance durability, cleanup, circulation, and comfort without turning the yard into a purely utilitarian space. Homeowners with dogs often need more than just open grass. They need clear movement routes, surfaces that hold up to repeated wear, planting that does not create constant mess, and outdoor areas that still look intentional.
Instead of asking what single surface is best, it helps to think about how pets actually use the yard every day. Entry routes, favorite paths, lounging spots, bathroom areas, and play zones all shape what materials and planting choices make sense.
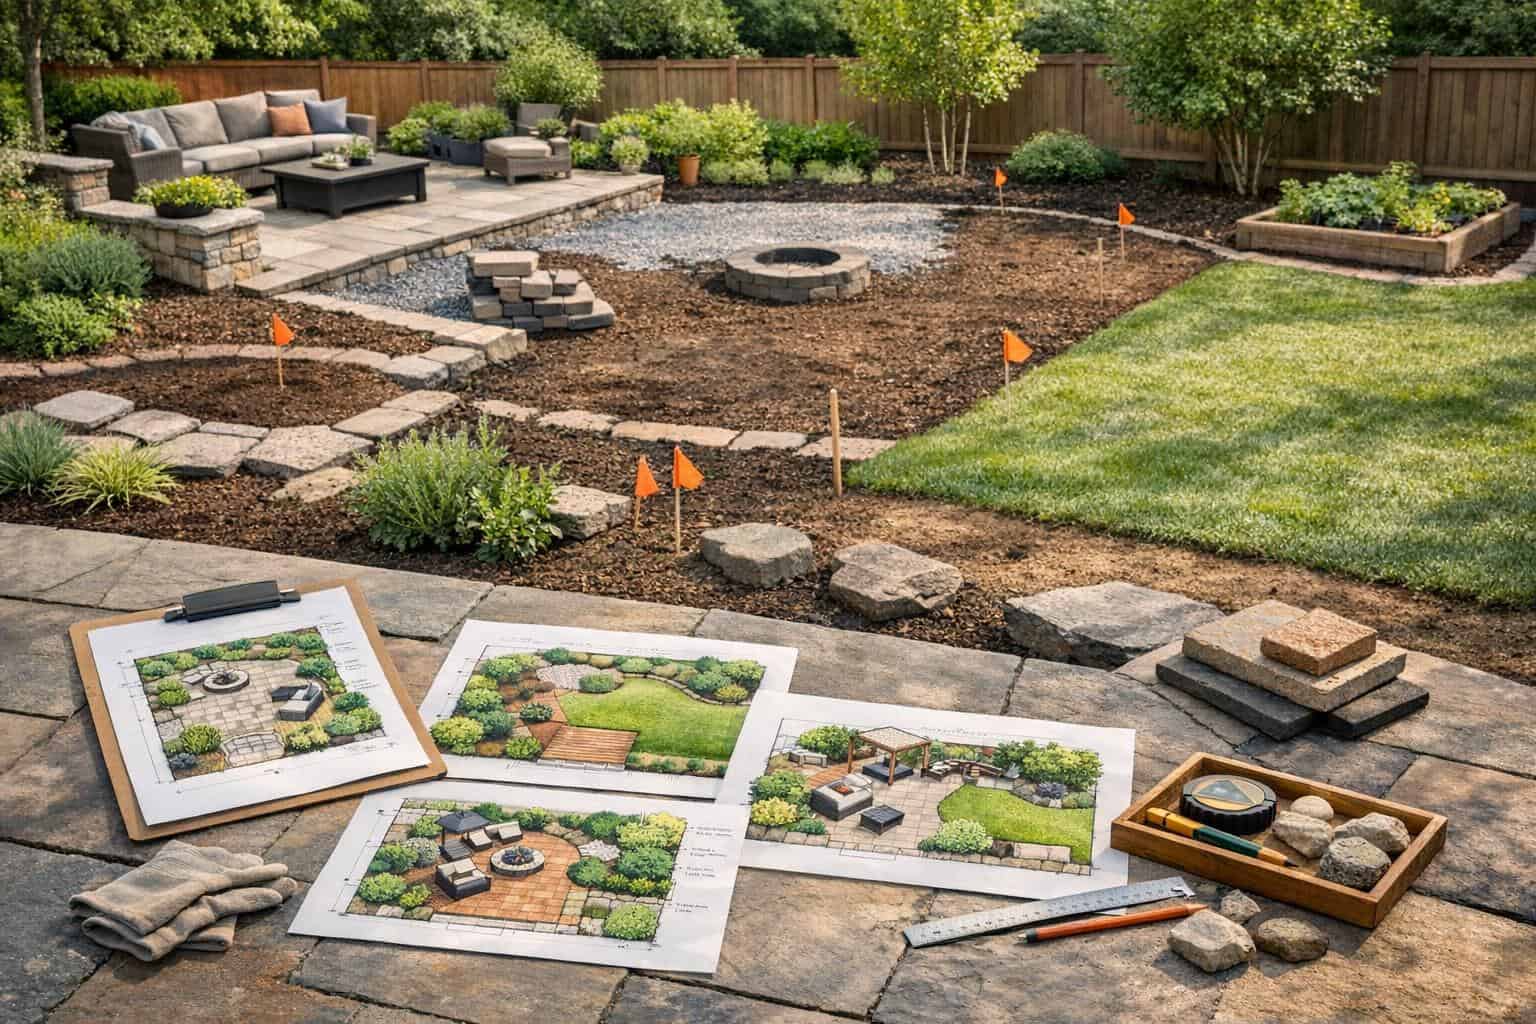
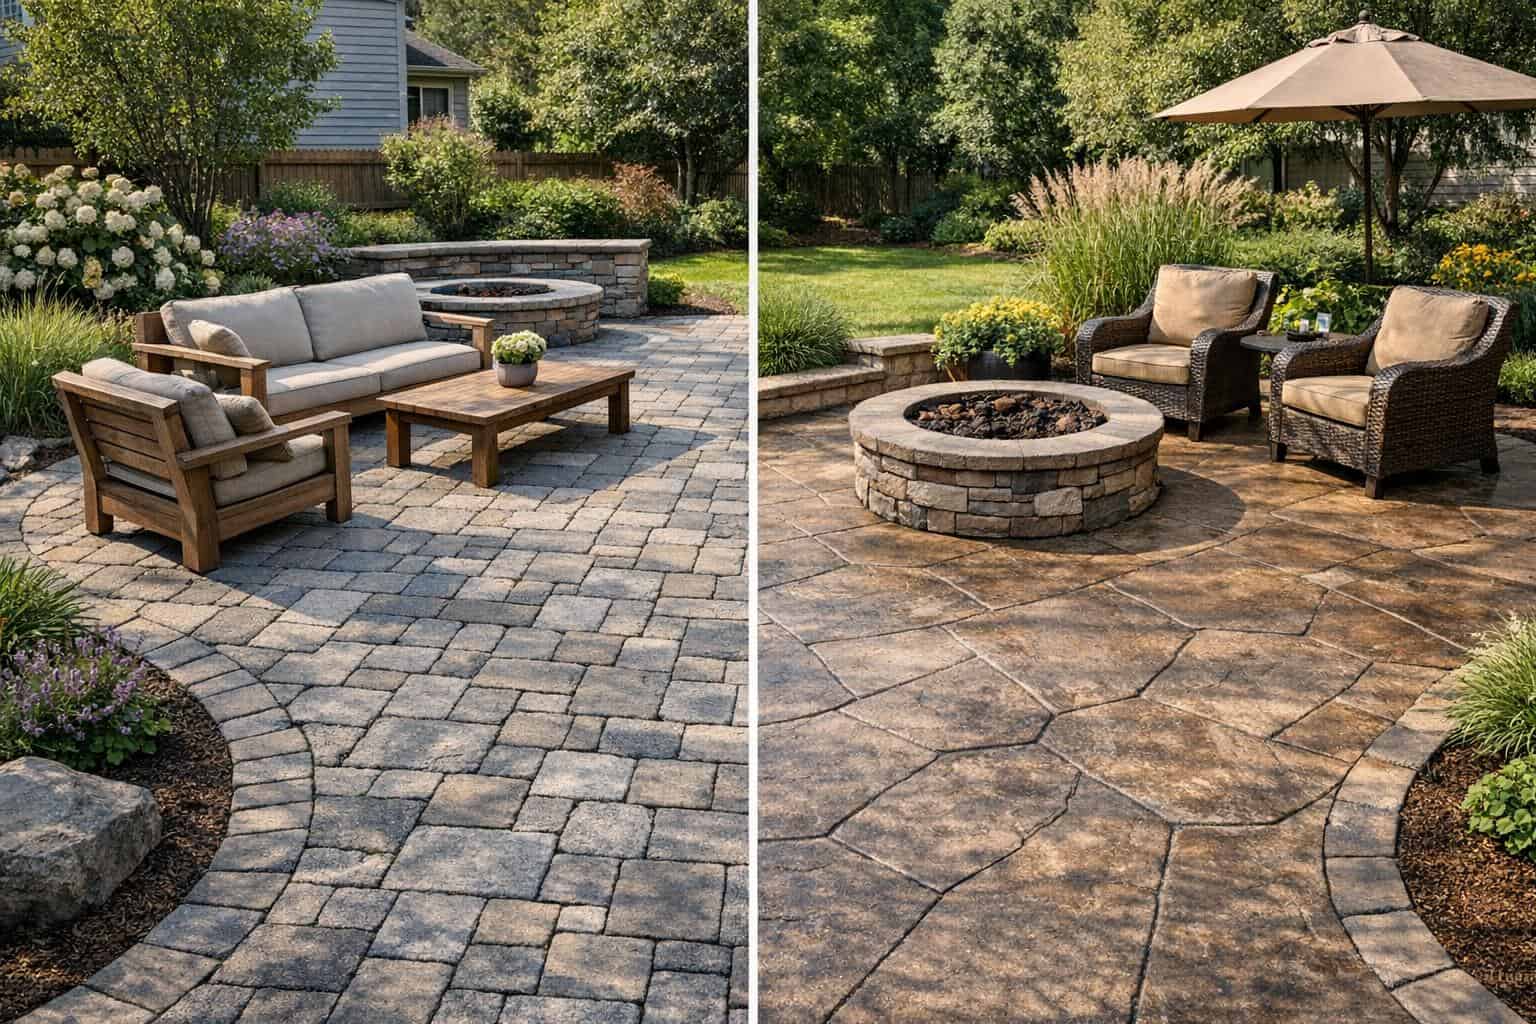
Durable surfaces matter
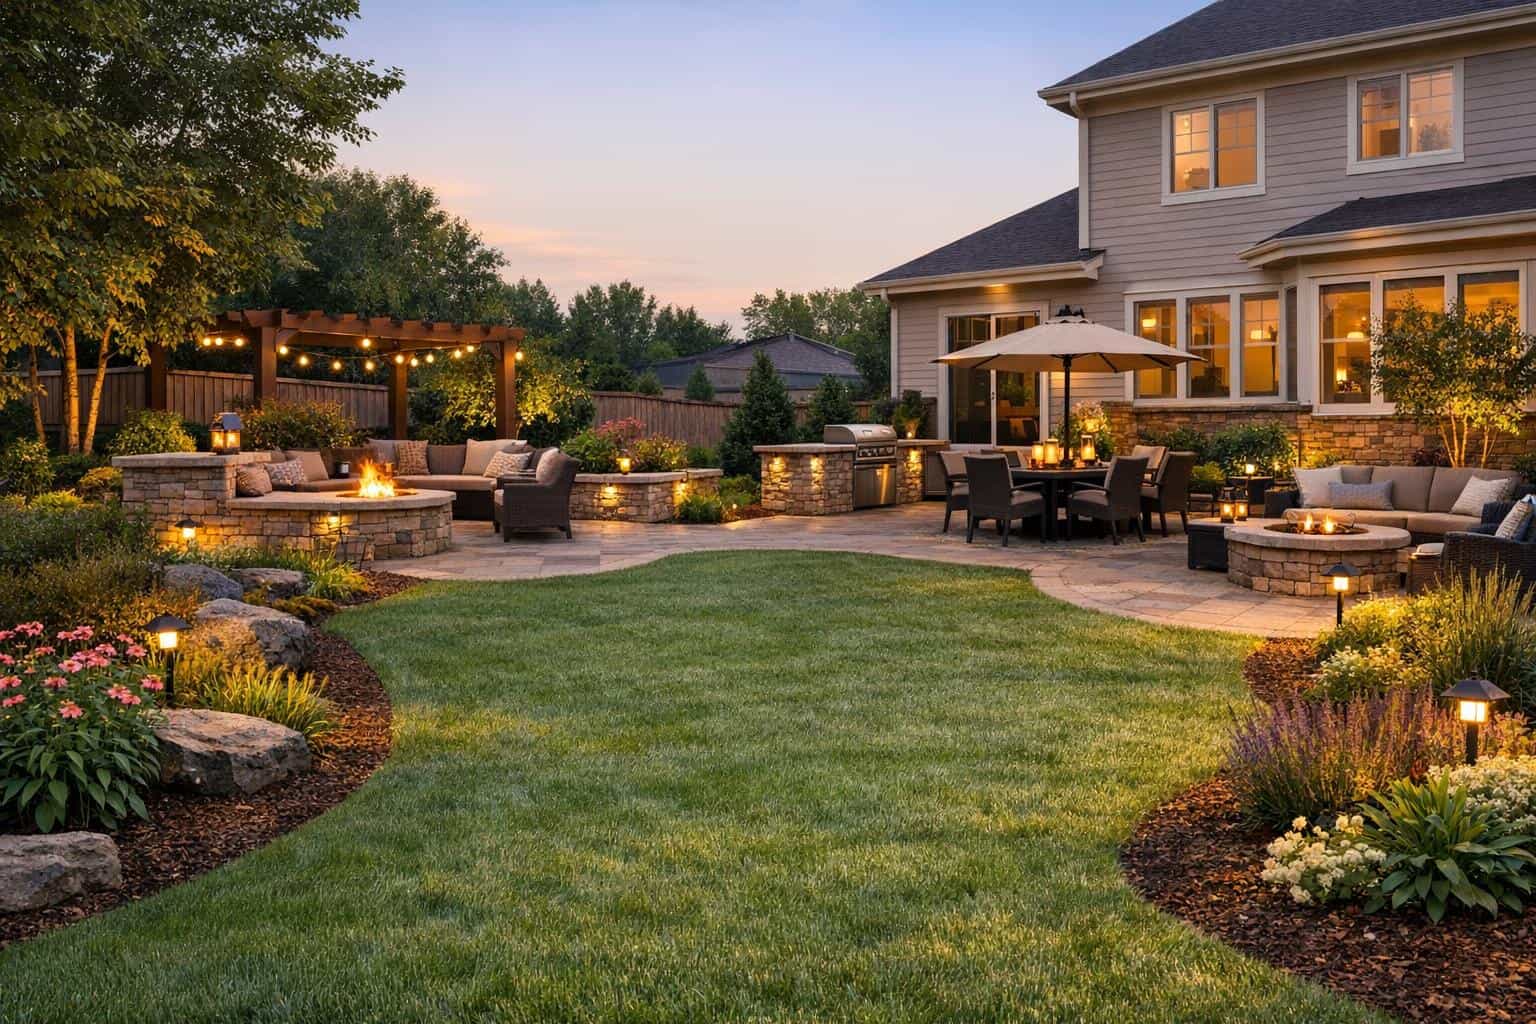
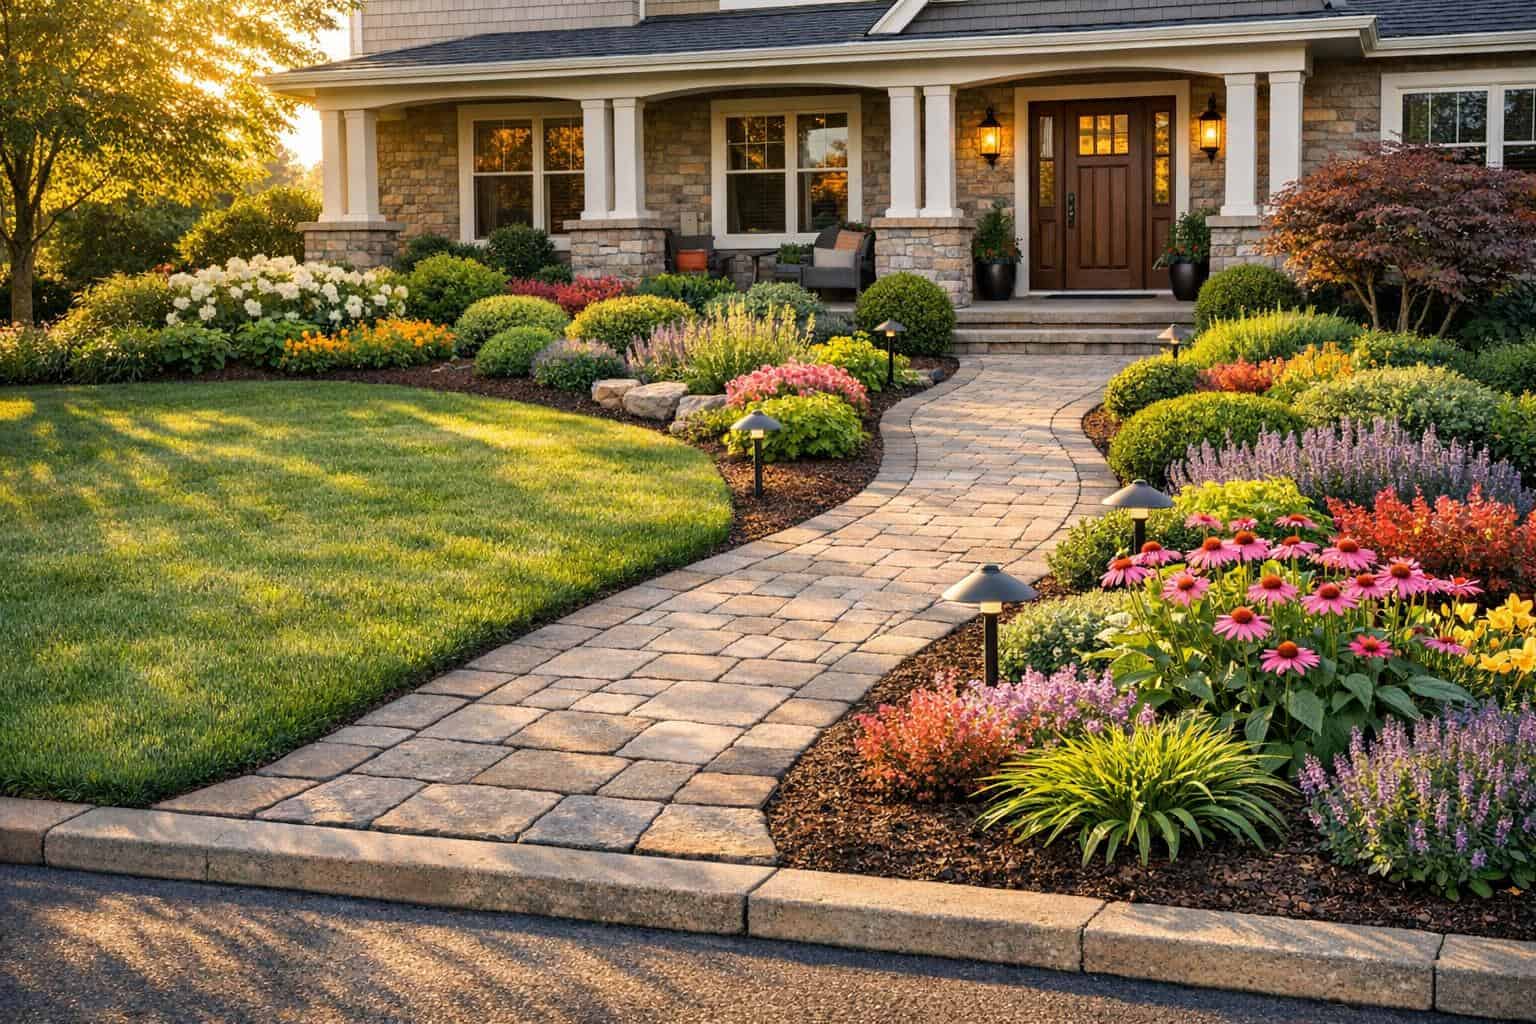
Pet-friendly backyards often combine several surfaces rather than relying on one material everywhere. Some households prefer a lawn or sod play area. Others prefer lower-mess solutions in high-traffic zones. Patios, pathways, and selected ground-cover areas can reduce mud and improve cleanup, especially near doors and gates.
If the lawn itself is still being decided, the artificial turf vs natural grass guide and sod vs seed guide both help frame the tradeoffs.
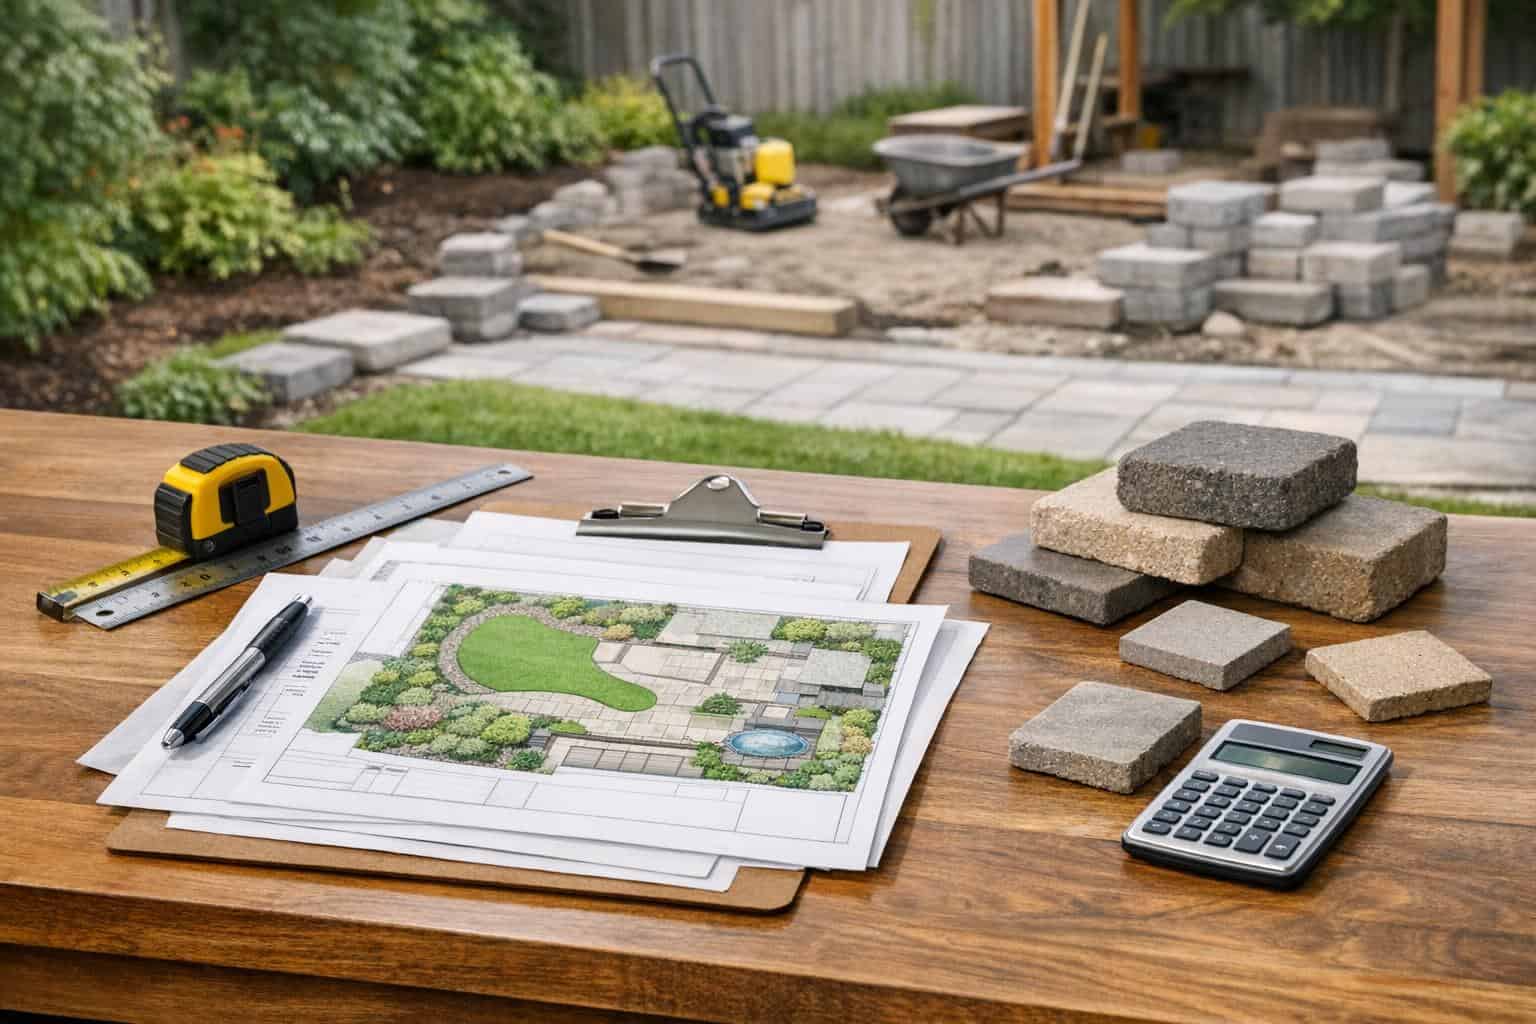
Drainage and cleanup affect everyday usability
Even a beautiful pet space becomes frustrating if it stays muddy, smells, or tracks dirt back into the house. That is why drainage, grading, and circulation often matter more than decorative details. A yard that sheds water poorly can turn pet use into a constant maintenance issue.

Homeowners dealing with runoff or worn travel paths should compare the drainage guide and grading guide early in the planning process.
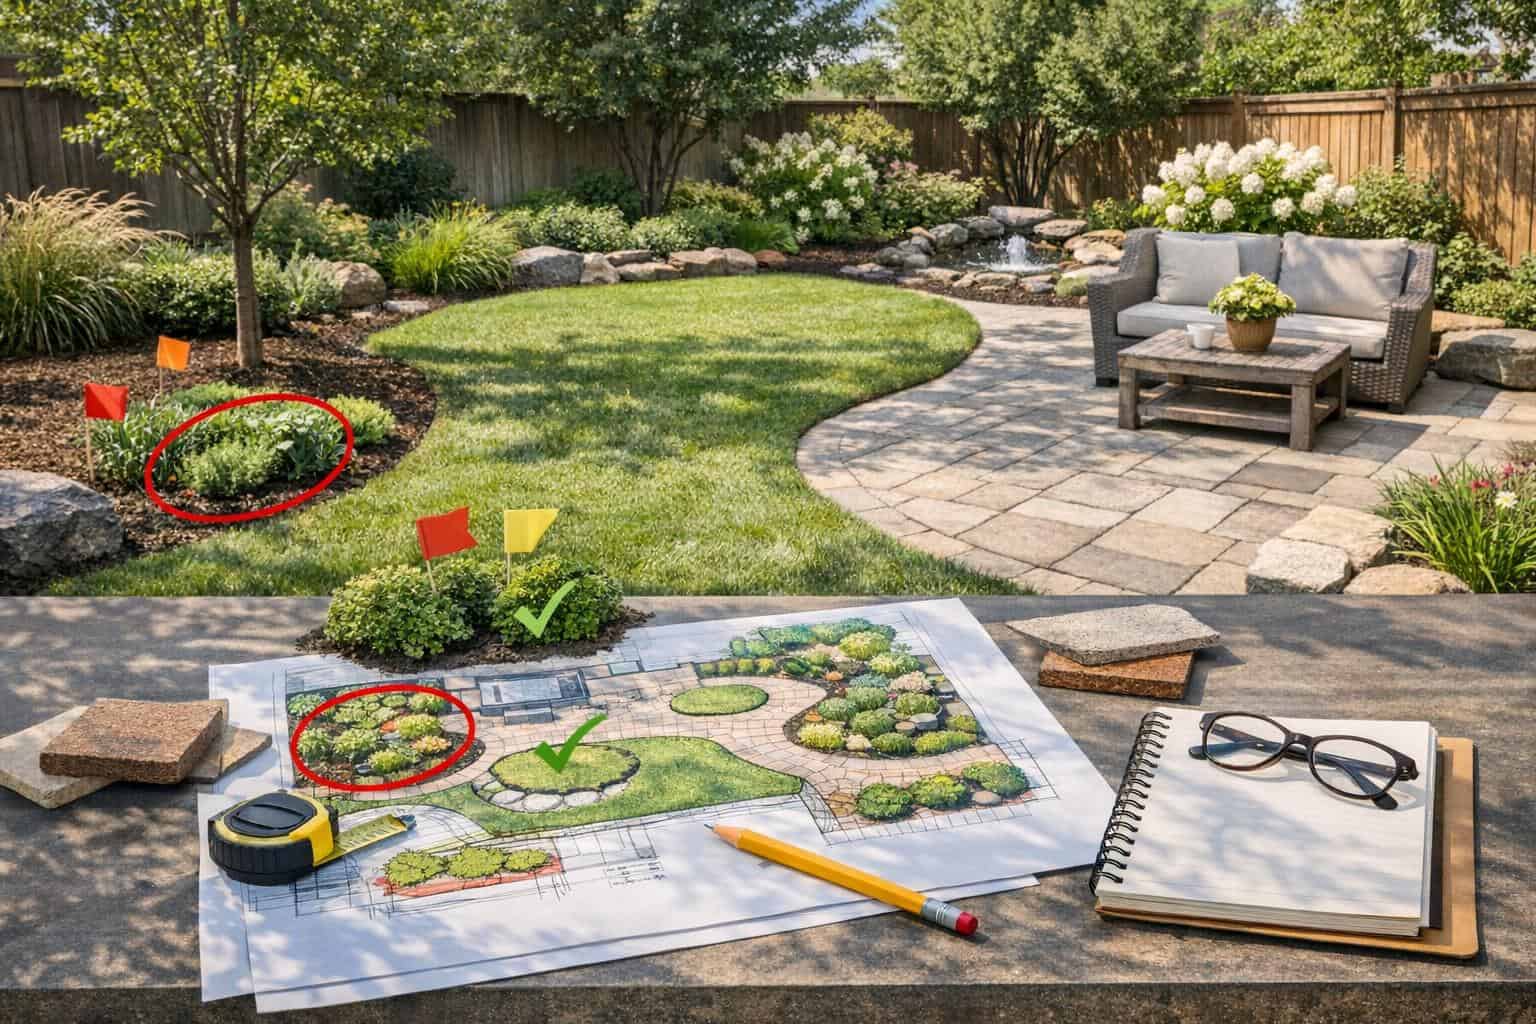
Planting choices should support the space
Dense delicate beds and fragile edging rarely stay tidy in high-pet-traffic backyards. The most successful pet-friendly yards usually rely on more resilient planting, clearer bed edges, and easier maintenance zones around favorite pet routes. That does not mean the yard has to look plain. It means the planting plan should reflect how the space is actually used.
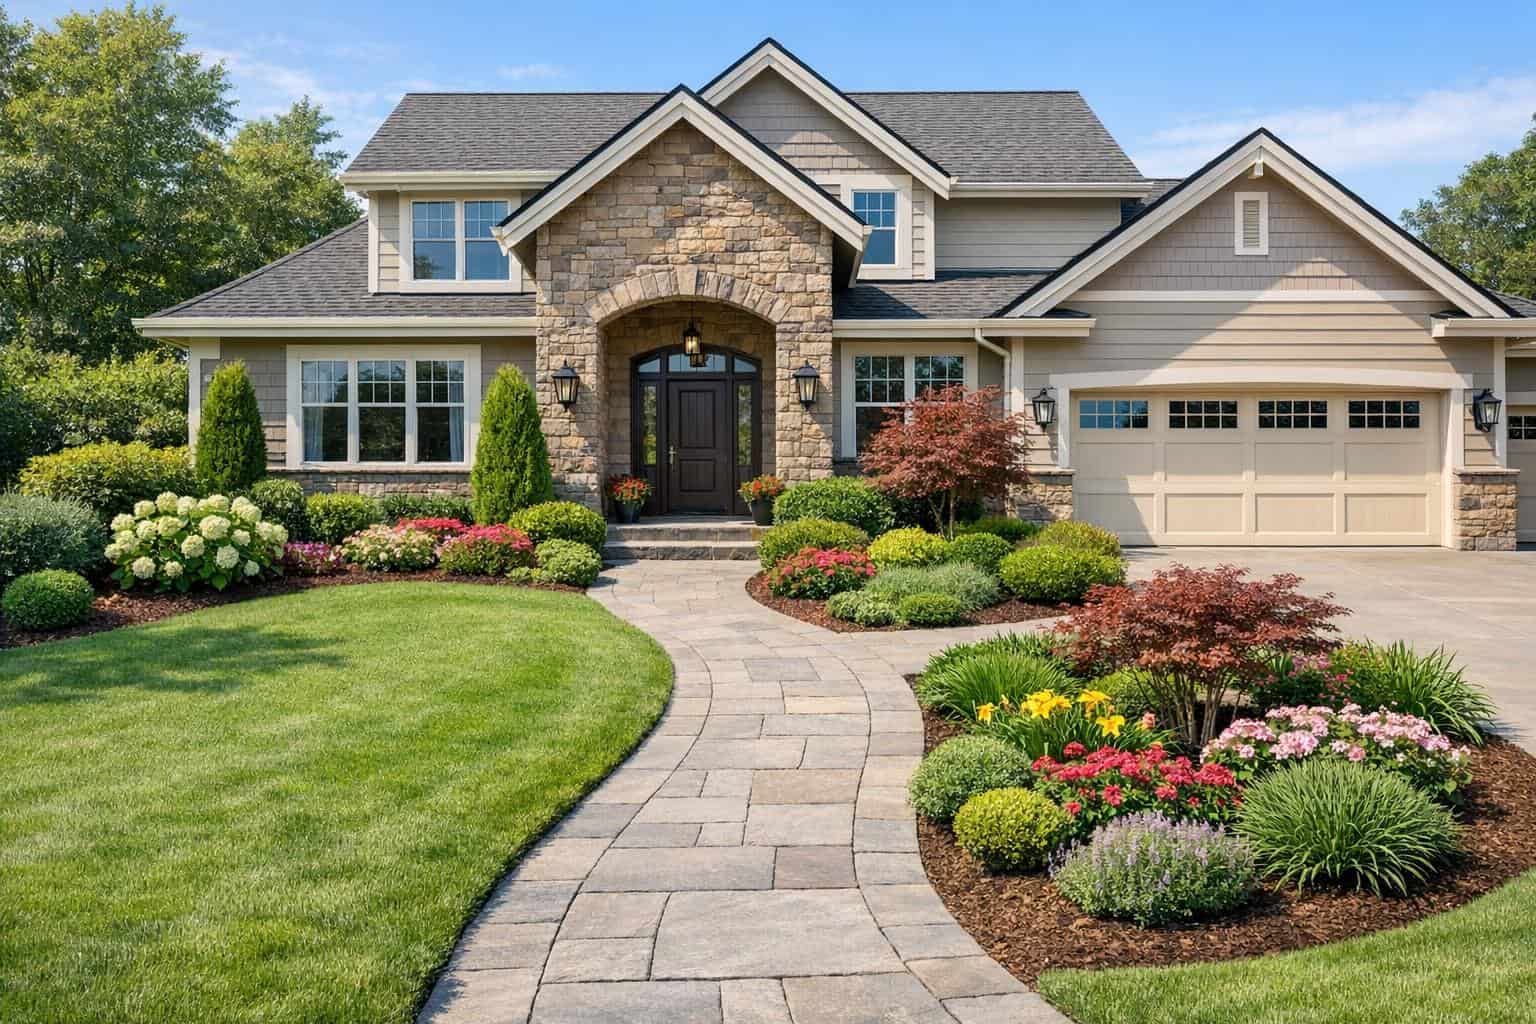
Keep the whole backyard usable
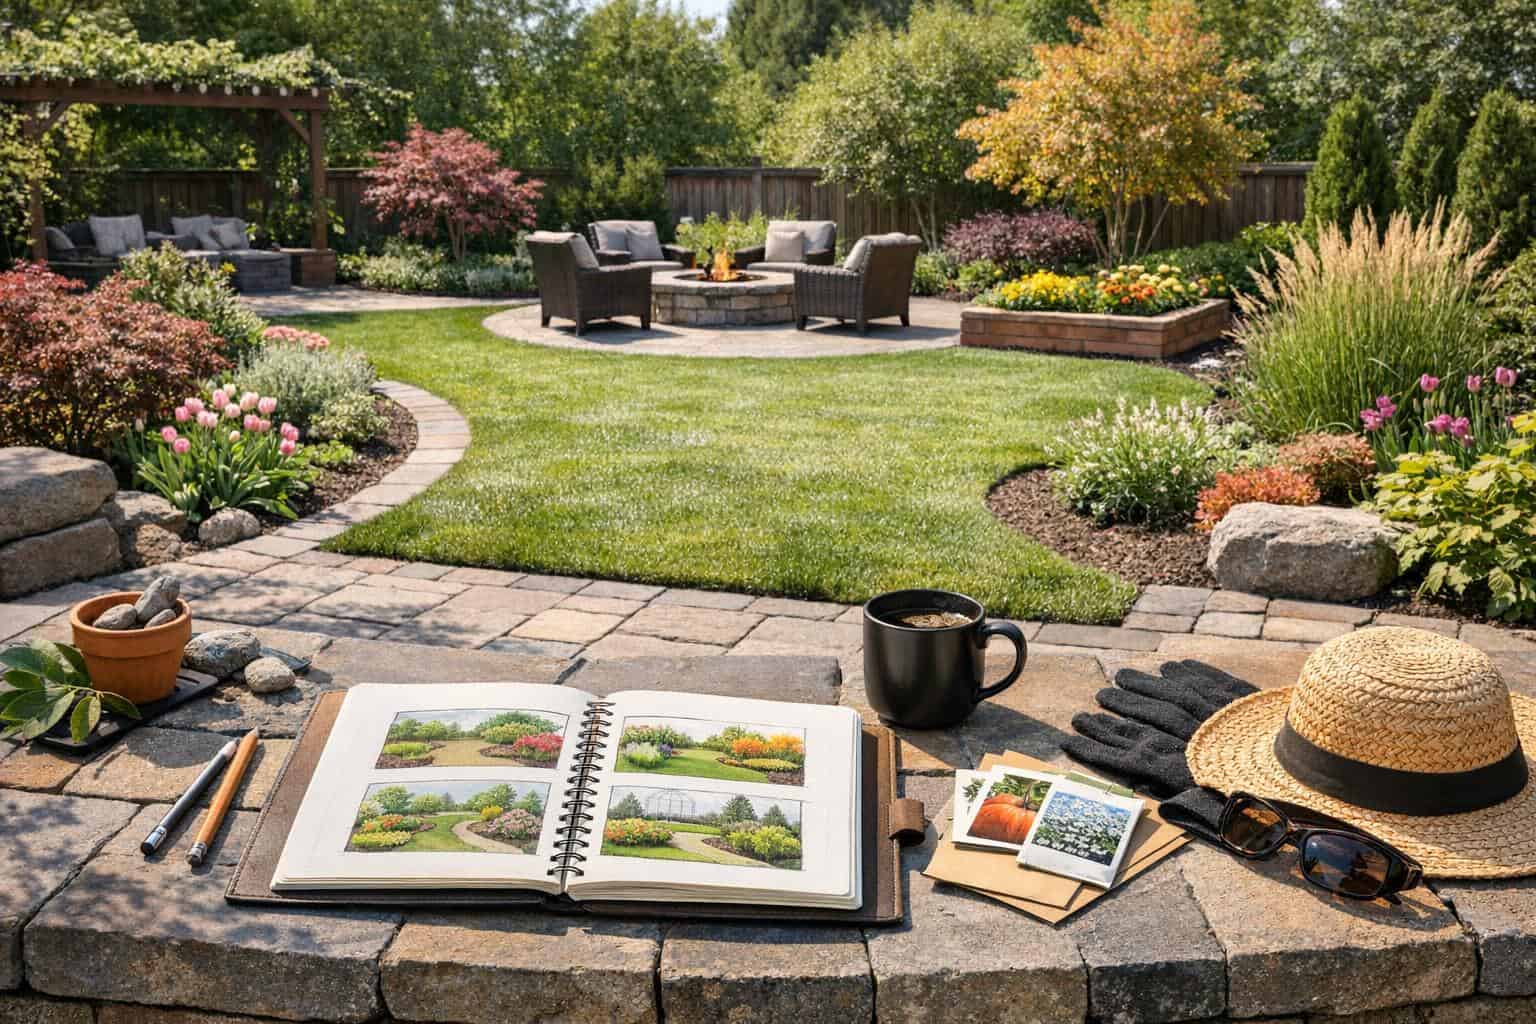
A pet-friendly yard is still part of a broader backyard plan. Seating, lawn, privacy, lighting, and paths should work together so the space feels comfortable for everyone using it. The backyard planning guide is a good next step when homeowners want the yard to serve multiple purposes at once.

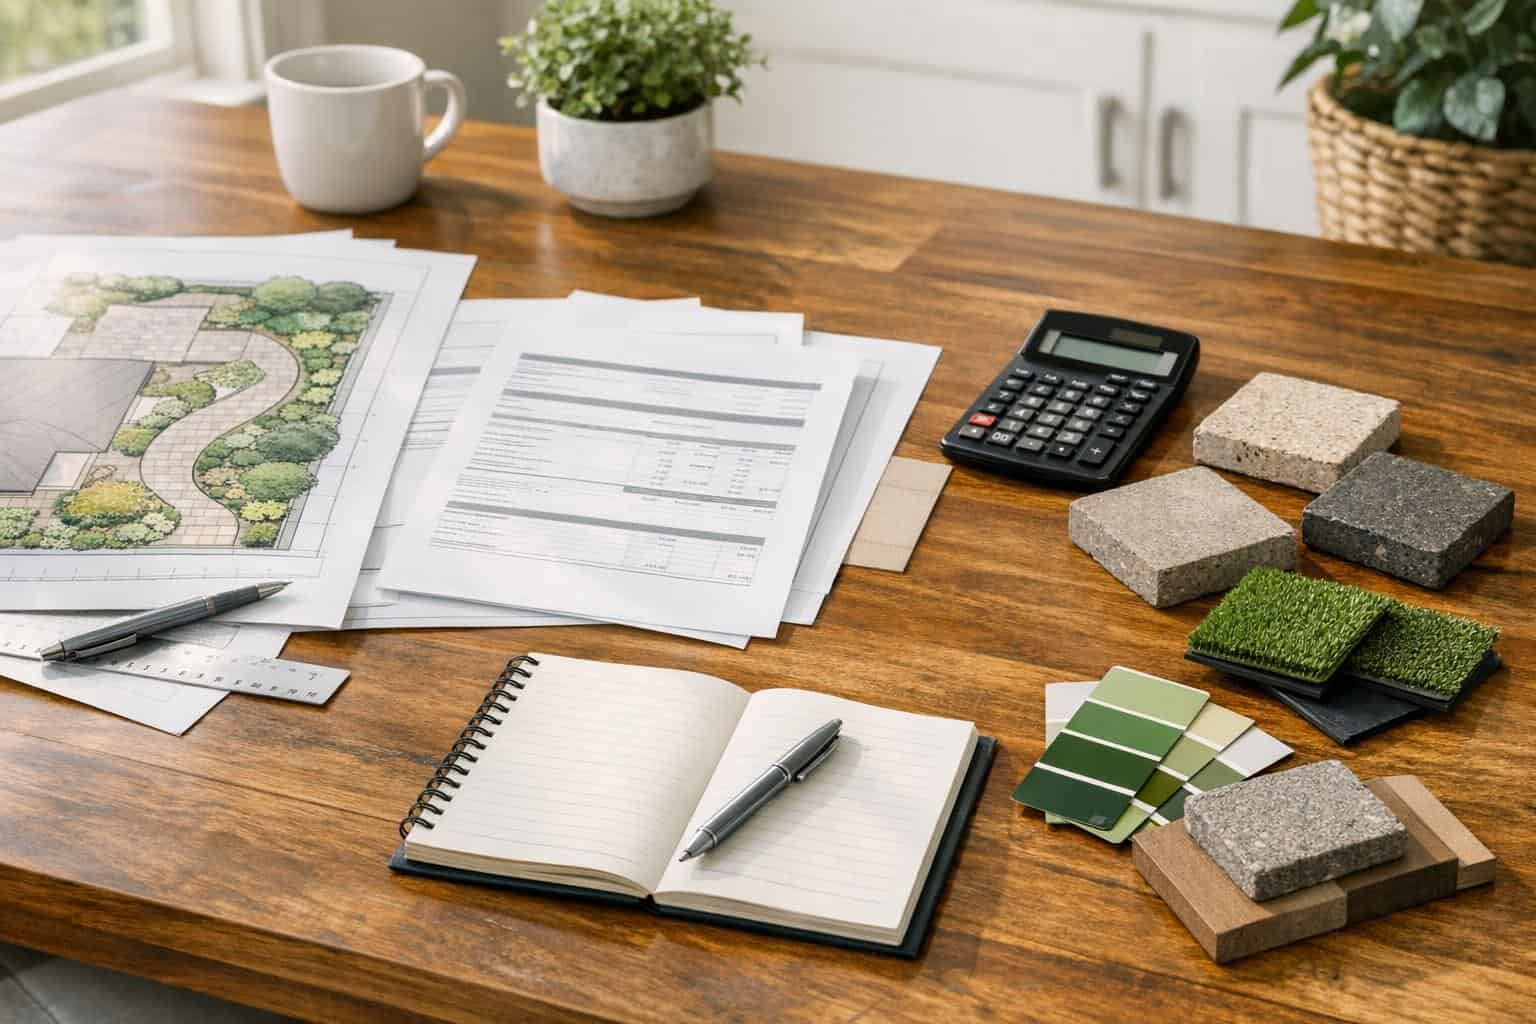
Materials guide: The pet-friendly materials guide helps compare surface choices, cleanup, and durability more directly.
Timeline guide: The pet-friendly backyard landscaping timeline guide helps homeowners understand how layout, surfaces, and finish work affect project length.
Maintenance guide: The pet-friendly backyard maintenance guide helps homeowners protect durability, cleanliness, and how the yard works for pets over time.
Mistakes guide: The pet-friendly backyard planning mistakes guide helps homeowners catch layout and material mismatches before installation.
Warning signs guide: The pet-friendly backyard warning signs guide helps homeowners judge wear, stress, and when the yard needs adjustment for real pet use.