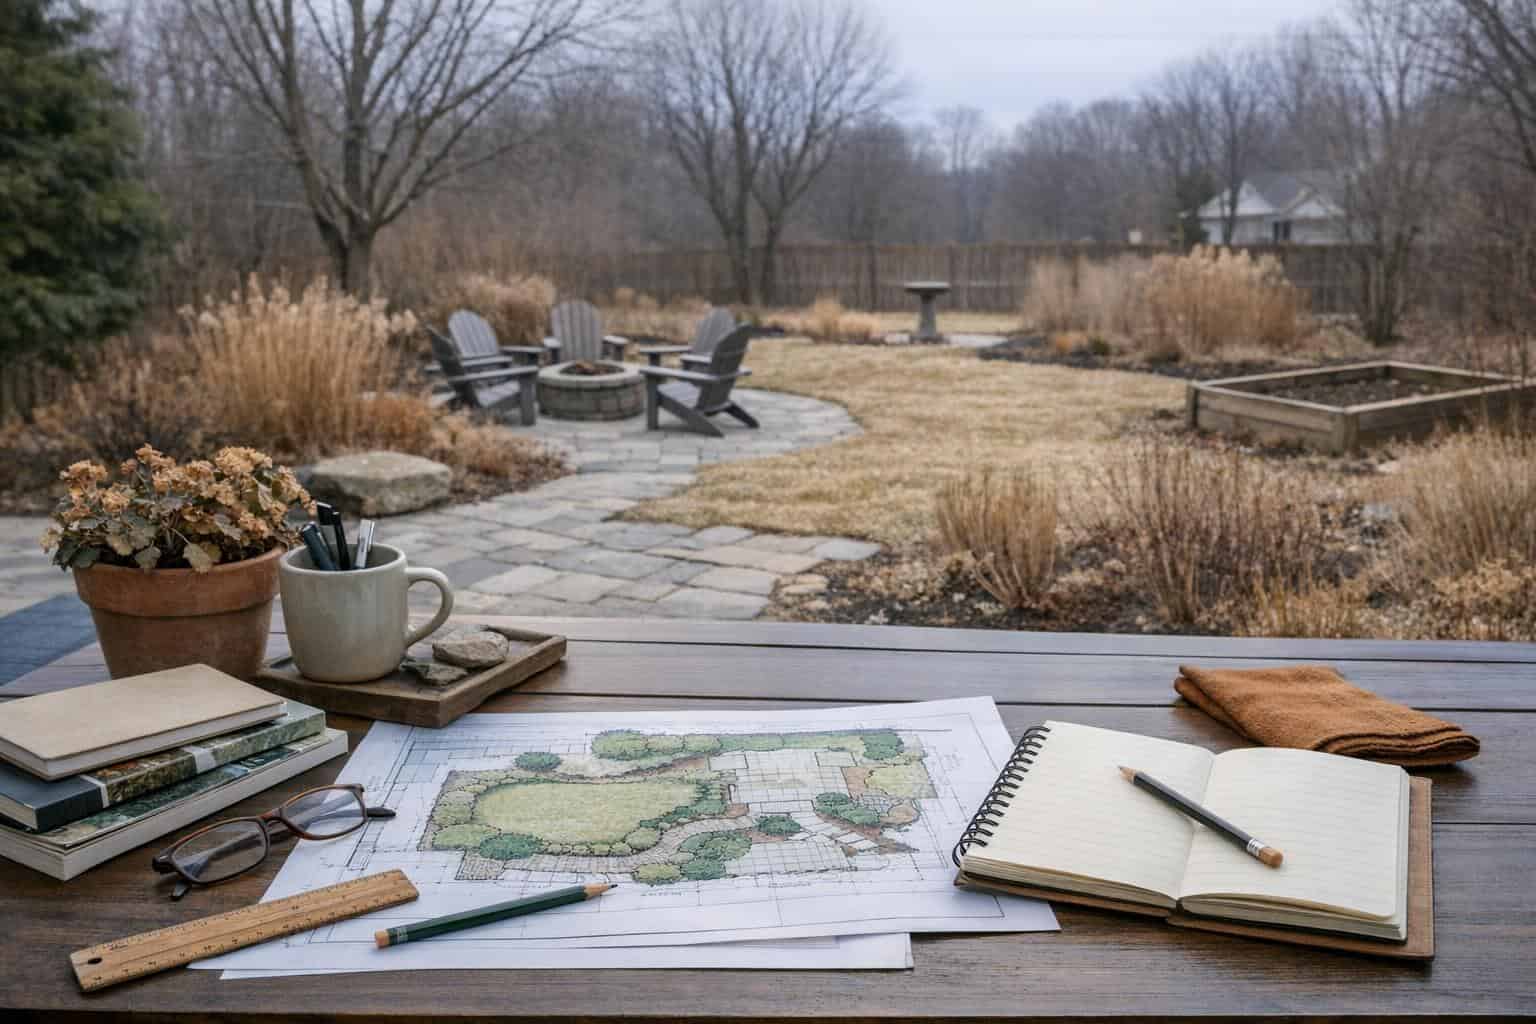
Winter is the best time to plan a landscaping project and the worst time to build most of one. Use the slow months to study how your yard behaves in rain and frost, settle on a budget and design, and book contractors early, so the work can start as soon as the ground is ready in spring.
Part of our Complete Yard Design and Planning Guide: layouts, ideas by yard type, phasing and budgets in one place.
Why winter is planning season
Most landscape contractors are busiest from early spring through fall. In winter, many have more time for site visits, design meetings and detailed estimates, and some schedule spring installs on a first-come basis. If you wait until the first warm weekend to call, you may find the best crews booked weeks or months out.
Winter also shows you things summer hides. Bare trees reveal the bones of the yard, rain and snowmelt show where water goes, and you can see which windows look onto bare fences that need screening. For more on timing, see our guide to the best time of year to start a landscaping project.

Step 1: Observe the yard in winter conditions
Spend a few weeks taking notes and photos. What you record now is what a designer or contractor will need later.
- Standing water: Note where puddles sit more than a day after rain, and where snowmelt runs toward the house.
- Downspouts: Check where each one discharges. Many drainage problems start at a downspout dumping next to the foundation.
- Frost and ice: Mark walkways and steps that stay icy, often because they are shaded or catch runoff.
- Sun angles: Low winter sun shows which areas get almost no light. Those spots will be shady in other seasons too, once the trees leaf out.
- Views and privacy gaps: Deciduous screens disappear in winter. If privacy matters year round, this is when you see the gaps.
- Damage: Look for heaved pavers, cracked concrete, leaning walls and broken branches.
If water is a recurring theme in your notes, address it first. Our drainage solutions guide explains the common fixes and what they involve.
Step 2: Measure and sketch
A simple base map saves money at every later stage. Measure the house footprint, property lines, existing patios and walks, trees, beds, the location of the hose bibs, the AC unit and gas or electric meters. Note slopes roughly, even if it is just “drops about two feet from the house to the back fence.”
Graph paper works fine, as does a printout of an aerial view with dimensions written on it. Before any digging later, call 811 or your local utility locating service so buried lines get marked; that is required in most places and is free.
Step 3: Set priorities and a realistic budget
List what you want, then sort it into three groups: problems that must be fixed (drainage, failing walls, trip hazards), things that make the yard usable (a patio, a path, a lawn area), and finishing touches (lighting, ornamental planting, decorative features).

Fix problems first. A new patio built before a drainage issue is resolved can be damaged by the same water. Then fund the usable spaces, and phase the finishing touches if needed. Our guide on how to phase a landscaping project covers sequencing so later phases do not tear up earlier ones.
As a rough rule, set aside 10 to 15 percent above your target for surprises like buried debris, extra base material or a design change. Costs vary a great deal by region, access and site conditions.
| Task | Best done in winter | Wait for spring or later |
|---|---|---|
| Design and layout decisions | Yes | |
| Getting and comparing estimates | Yes | |
| Pruning most deciduous trees and shrubs | Yes, while dormant (check timing for spring bloomers) | |
| Irrigation planning and controller review | Yes | Start-up and leak testing |
| Concrete and paver installation | Possible in mild climates | Usually in cold, frozen regions |
| Sod and seed | Spring or fall, depending on grass type | |
| Most planting | Possible in mild climates while dormant | Spring in cold regions |
Step 4: Get estimates while contractors have time
Aim to get two or three estimates for any significant project. Give every contractor the same written scope, your base map and your photos, so the bids are comparable. Ask how they schedule spring work and whether a deposit holds a start date.
Use winter to check licensing and insurance, call references and look at completed jobs. Ask what they would do differently on your site; a good contractor will point out drainage, access or soil issues you missed.

Step 5: Order and prepare materials thoughtfully
Some materials, such as specific paver colors, natural stone or larger trees, can have lead times in spring. If you have chosen them, ask your contractor whether ordering early makes sense. If you plan to buy bulk mulch, soil or rock yourself, work out quantities now so you are not guessing on delivery day.
Avoid stockpiling materials on the lawn for long periods, since piles can smother grass and pallets can leave ruts in soft winter ground.
Winter care tasks worth doing
- Clear leaves off lawns and out of drains, gutters and catch basins.
- Prune dormant deciduous trees and shrubs that bloom on new growth; hold off on spring bloomers until after they flower.
- Keep foot traffic off frozen or saturated lawn to avoid compaction and damage.
- Use de-icers sparingly near plants and new concrete; some products damage both. Sand gives traction without the chemistry.
- Check that irrigation backflow devices and exposed pipes were winterized in freezing climates.

Common winter planning mistakes
- Choosing plants from photos without checking hardiness for your zone and mature size for your space.
- Designing around summer views only, then finding a bare, exposed yard every winter.
- Booking the cheapest spring slot without comparing scope line by line.
- Ignoring drainage because “it only happens in winter,” which is exactly when foundations and walls take the most stress.
Frequently asked questions
Can landscaping work be done in winter?
In mild climates, much of it can, including planting dormant trees and some hardscape work. In regions where the ground freezes, concrete, grading and planting are usually limited until thaw, but design, estimates and pruning continue.
How early should I book a spring landscaping project?
For larger jobs, many homeowners start contacting contractors in mid to late winter. Popular crews can fill spring calendars well before the weather turns.
Is it cheaper to schedule landscaping in winter?
Sometimes. Off-season scheduling can give you more attention and flexibility, and some contractors offer better terms for early bookings, but material prices and site conditions still drive most of the cost.
What should I prune in winter?
Most deciduous trees and summer-flowering shrubs can be pruned while dormant. Wait on spring-flowering shrubs until after bloom so you do not cut off this year’s flowers.