
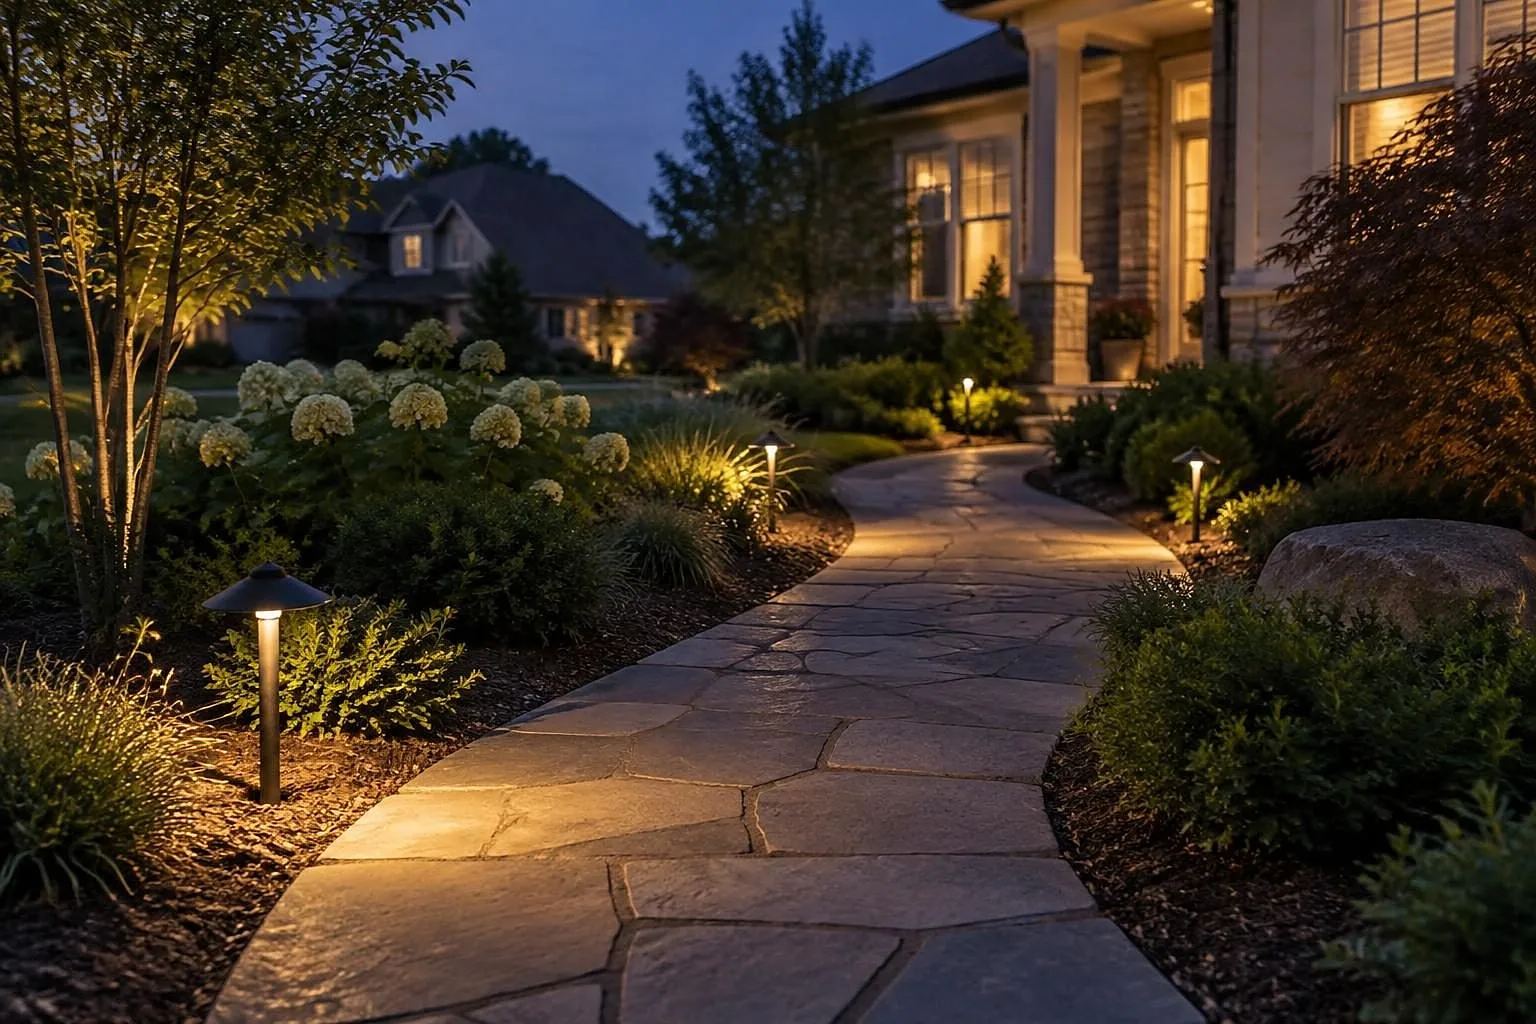
Solar yard lights are the easiest way to add light to a garden, path or fence: no wiring, no electrician and nothing on your power bill. They work well as soft markers and accents in spots that get a full day of sun. They disappoint when people expect bright, all-night light from a shaded corner, or buy the cheapest set and are surprised when it dies after one season.
Quick answer: Put solar lights where the panel gets at least 6 to 8 hours of direct sun, and match the brightness to the job: about 5 to 30 lumens for path markers, 100 to 400 lumens for spotlighting a tree or wall, and 400 lumens or more for a motion security light. Look for a replaceable rechargeable battery, a glass or sturdy panel cover and a warm white color (3000K or lower). Expect to replace batteries every one to two years. Typical prices run about $3 to $15 per path light, $20 to $60 per spotlight and $25 to $80 for a solar motion flood, depending on build quality and where you shop.
Part of our Complete Landscape Lighting Guide: fixtures, wiring, design, costs and upkeep in one place.

How solar yard lights work
Each light has four parts: a small solar panel, a rechargeable battery, an LED and a light sensor. During the day the panel charges the battery. At dusk the sensor (a photocell) switches the LED on, and it runs until the battery is drained or, on some models, until a timer turns it off.
How long it stays on depends on how much charge it got that day. One manufacturer’s instructions put it plainly: run time depends on your location, the weather and the season, and a new light needs a full day in the sun before it reaches full charge (example solar garden light instructions). A sunny summer day can power a light for most of the night; a gray December day may give you an hour or two.
Types of solar lights compared
The word “solar light” covers very different products. Pick the type by what you want the light to do.

| Type | Best for | Typical brightness | Watch out for |
|---|---|---|---|
| Stake path lights | Marking walkway and bed edges | 5 to 30 lumens | Too dim to actually light a path; cheap stakes snap |
| Spotlights | Uplighting a tree, shrub, flag or wall | 100 to 400 lumens | Needs a separate panel if the target is in shade |
| String lights | Patios, pergolas, fences, decks | Low per bulb; ambience only | One panel powers the whole string, so placement matters |
| Motion flood lights | Driveways, side yards, garage doors | 400 to 2,000+ lumens | Sensor false triggers from trees, cars and animals |
| Fence, deck and step lights | Posts, rails, stair risers | 5 to 50 lumens | Small panels charge poorly on shaded fences |
| Lanterns and decorative lights | Tables, beds, entry accents | Very low; decorative | Style first; light output is an afterthought |
If you are planning a whole-yard lighting layout rather than a few accents, start with our landscape lighting guide, which covers layering, glare and where each fixture type belongs.
How bright: a lumens guide
Lumens measure light output. Solar lights are rated in lumens on the box, and those numbers are best-case figures for a fully charged battery. Real output often drops through the night as the battery runs down.
More is not always better. Bright, cool-white lights pointed out into the yard create glare and shine into neighbors’ windows. DarkSky’s five principles for responsible outdoor lighting are a good rule of thumb: light only what you need, aim it down or at the target, keep it as dim as works, control when it is on, and use warm color temperatures of 3000K or lower.
- Path and bed markers: 5 to 30 lumens. Many popular stake lights are rated around 10 to 15 lumens. That is enough to show where the path is, not enough to read the ground.
- Steps and stair edges: 15 to 50 lumens, aimed down at the tread.
- Accent spotlights: 100 to 400 lumens for a small tree, shrub or house wall.
- Security and motion lights: 400 lumens and up; 800 to 1,500 is common for a driveway or side door.
What to look for when buying
Price differences between solar lights mostly come down to the battery, the panel and how well the housing keeps water out. These are the details worth reading on the box or product page.
- Replaceable battery. The battery wears out first. A light with a standard rechargeable AA or AAA cell (usually NiMH, 1.2 volts) can be revived for a dollar or two. A sealed battery means the whole light becomes trash.
- Battery capacity. Listed in mAh. Higher capacity runs longer, but only if the panel is big enough to fill it.
- Panel size and cover. Bigger panels charge faster on short days. Glass covers stay clear longer than thin plastic, which can fog or yellow after a few years in the sun.
- Separate panel on a cord. Essential for spotlights or string lights that must sit in shade.
- Weather rating. Look for an IP rating of IP65 or better for lights that sit in rain, sprinklers or snow.
- Warm color. 2700K to 3000K looks like traditional landscape light. 5000K and up looks blue and harsh.
- Modes and switches. An on/off switch for storage, and on some models a dimmer, timer or motion mode to stretch battery life.
- Warranty. Many budget sets carry a 90-day to one-year warranty. That tells you how long the maker expects them to last.
Where to put them

Placement decides whether solar lights work. The panel needs direct sun, not just daylight. Manufacturers commonly call for 6 to 8 hours of direct sun a day for a full charge.
- Watch the sun for a day. A spot that is sunny at noon can be shaded by the house all afternoon. Check morning, midday and late afternoon before you commit.
- Plan for winter. The sun sits lower in winter, so fences, trees and the house cast much longer shadows. A summer-sunny spot may be shaded from November to February. Our winter yard planning guide covers how shade shifts through the year.
- Keep panels clear of plants. Shrubs and perennials grow over path lights by midsummer. Leave room, or trim back. If a tree shades a whole area, thinning the canopy can help; see our tree trimming cost guide for what that runs.
- Stay away from other light. A solar light next to a porch light or under a streetlight may never switch on, because its sensor thinks it is still daytime.
- Space path lights for markers, not floodlighting. About 6 to 8 feet apart, staggered on alternating sides, usually looks better than a straight “runway” line on both edges. Our walkway and pathway guide covers path layout if you are building one at the same time.
- Light the entry first. Steps, the front walk and the door are where light matters for safety. Our front entry landscaping ideas show how lighting fits with plantings there.
How to install solar lights, step by step
- Charge first. Switch the light on (some ship with a pull tab under the battery) and leave it in full sun for a day or two before judging it.
- Lay them out in daylight. Set lights in place without pushing them in, then check them after dark the first night. Adjust spacing before you commit.
- Soften the ground. Water dry or hard soil first, or start a hole with a screwdriver or narrow trowel. Push on the stake, not the light head, to avoid snapping it.
- Set them straight and level. A tilted panel charges less and a leaning row looks careless. Firm the soil around each stake.
- Mount separate panels high and facing south. In the US, a south-facing panel tilted toward the sun charges best. Mount it on a post, fence or eave where nothing will shade it, and tuck the cord under mulch.
- Aim spotlights. Point them at the target, not at windows or the street, and try a couple of angles after dark.
- Set modes. If the light has brightness or timer settings, a lower setting often gets you through the night in winter.
What solar yard lights cost
Solar lights are cheap to buy and free to run, but lifespan varies widely with quality. These are typical US retail ranges; prices vary by store, season and region.
| Item | Typical price | Notes |
|---|---|---|
| Budget stake path lights | $2 to $6 each (in multipacks) | Often last one or two seasons |
| Better path lights (glass, metal, replaceable battery) | $8 to $25 each | Often several years with battery swaps |
| Solar spotlights | $15 to $60 each | Separate panel adds cost but improves results |
| Solar string lights | $20 to $70 per string | Length and bulb type drive price |
| Solar motion flood lights | $25 to $80 each | Larger panels and batteries cost more |
| Replacement rechargeable batteries | $1 to $3 each | Match size, voltage and chemistry |
| Installed by a handyman or landscaper | Often $50 to $100 per hour, or added to a planting job | Most homeowners install solar lights themselves |
A typical front walk with ten decent path lights and two spotlights often comes to about $150 to $350 in fixtures. For comparison with a professionally installed wired system, see our landscape lighting cost guide.
Problems homeowners run into
- The set died after one season. The most common complaint. Usually the battery is worn out; a fresh rechargeable battery revives many lights. If it does not, water has often gotten into the housing.
- Dim or short run time in winter. Short days, low sun and long shadows mean less charge. Moving lights to winter-sunny spots, cleaning panels and using a lower brightness setting help, but some winter shortfall is normal.
- Brand-new lights do not turn on. Check the on/off switch and for a plastic pull tab under the battery, then give them a full sunny day to charge.
- Lights stay off at night. Another light source, such as a porch light, streetlight or a neighbor’s flood, is fooling the sensor. Move the light or shield it.
- Lights come on in the daytime or flicker. Often a dirty sensor, a nearly dead battery or water in the housing.
- Foggy or yellowed panels. Thin plastic covers cloud over in a few years of sun and charge less. Glass-topped lights hold up better.
- Too dim to see the path. Many path lights are markers, not working light. Steps and a dark entry may need brighter step lights or a wired system.
- Snapped stakes and mower damage. Lights at lawn edges get hit by mowers and trimmers. Set them a few inches back into the bed or behind edging.

Battery replacement and upkeep
- Clean the panels. Wipe them with a damp cloth every month or two. Dust, pollen, hard-water spots and bird droppings cut charging more than people expect.
- Replace batteries every one to two years. That is the interval one manufacturer gives, and it matches what many owners report (example instructions). Use the same size, voltage and chemistry as the original, usually a 1.2-volt NiMH rechargeable. Never use regular alkaline batteries; the panel will try to recharge them.
- Recycle old batteries. Rechargeable batteries should not go in the trash. The EPA recommends taking them to a battery recycling or household hazardous waste drop-off, and many home improvement stores collect them.
- Check after storms and mowing. Straighten leaning lights and reseat loose heads.
- Store or switch off in deep snow. If lights will be buried for weeks, switching them off or bringing them in protects the battery.
When to choose low-voltage wired lights instead
Solar is the right choice for accents, rentals, hard-to-wire spots and anyone who wants lights up this weekend. Low-voltage wired lighting is usually the better choice when you need:
Many homeowners mix the two: wired lights at the entry and main paths, solar in far corners and planting beds. Our low-voltage vs solar landscape lighting comparison covers transformers, wiring and costs in detail.
- Reliable, consistent brightness every night, including in winter.
- Light in shaded areas such as under trees, on the north side of the house or under a deck.
- Brighter light on steps, entries and long driveways.
- Fixtures that last many years without battery swaps.
- One timer or smart control for the whole yard.
Frequently asked questions
How long do solar yard lights last?
Budget lights often last one or two seasons. Better lights with glass panels, metal housings and replaceable batteries can last several years. The LED itself rarely fails; the battery and water getting into the housing are the usual causes.
Do solar lights work in winter or on cloudy days?
Yes, but with less run time. Panels still charge on cloudy days, just much more slowly, and short winter days mean less charge overall. Put lights where they get winter sun and expect shorter nights of light from November through February.
How many hours of sun do solar lights need?
Most manufacturers call for 6 to 8 hours of direct sun for a full charge. A new light may need a full day or two in the sun to reach full charge the first time.
Can I use regular batteries in solar lights?
No. Use rechargeable batteries of the same size, voltage and chemistry as the originals, usually 1.2-volt NiMH. Regular alkaline batteries are not designed to be recharged and can leak.
Why won’t my solar lights turn on at night?
Check the on/off switch, the battery and the battery contacts first. Then make sure no porch light or streetlight is shining on the sensor, and that the panel actually gets direct sun during the day.
Should I leave solar lights out all year?
Most are made to stay out. In places with deep, lasting snow, switching them off or storing them for the worst weeks protects the batteries.